Continue to Site

Welcome to EDAboard.com

Welcome to our site! EDAboard.com is an international Electronics Discussion Forum focused on EDA software, circuits, schematics, books, theory, papers, asic, pld, 8051, DSP, Network, RF, Analog Design, PCB, Service Manuals... and a whole lot more! To participate you need to register. Registration is free. Click here to register now.

[SOLVED] [Moved] How bad is my damaged Atlys FPGA board?

Status
Not open for further replies.
Digilent told me that I should format the mem stick to FAT (I did but it didn't work either). They also told me that the .bit file must be compatible with the FPGA, otherwise the board rejects it... well I think the .bit file is compatible,

Well, the .bit file really really works on my Atlys board. And I doubt you will have a different spartan-6 chip on there. Regardless, you can tell digilent that the bitfile you use is known to work on another xc6slx45-2csg324. That's the target I used for that .bit file.

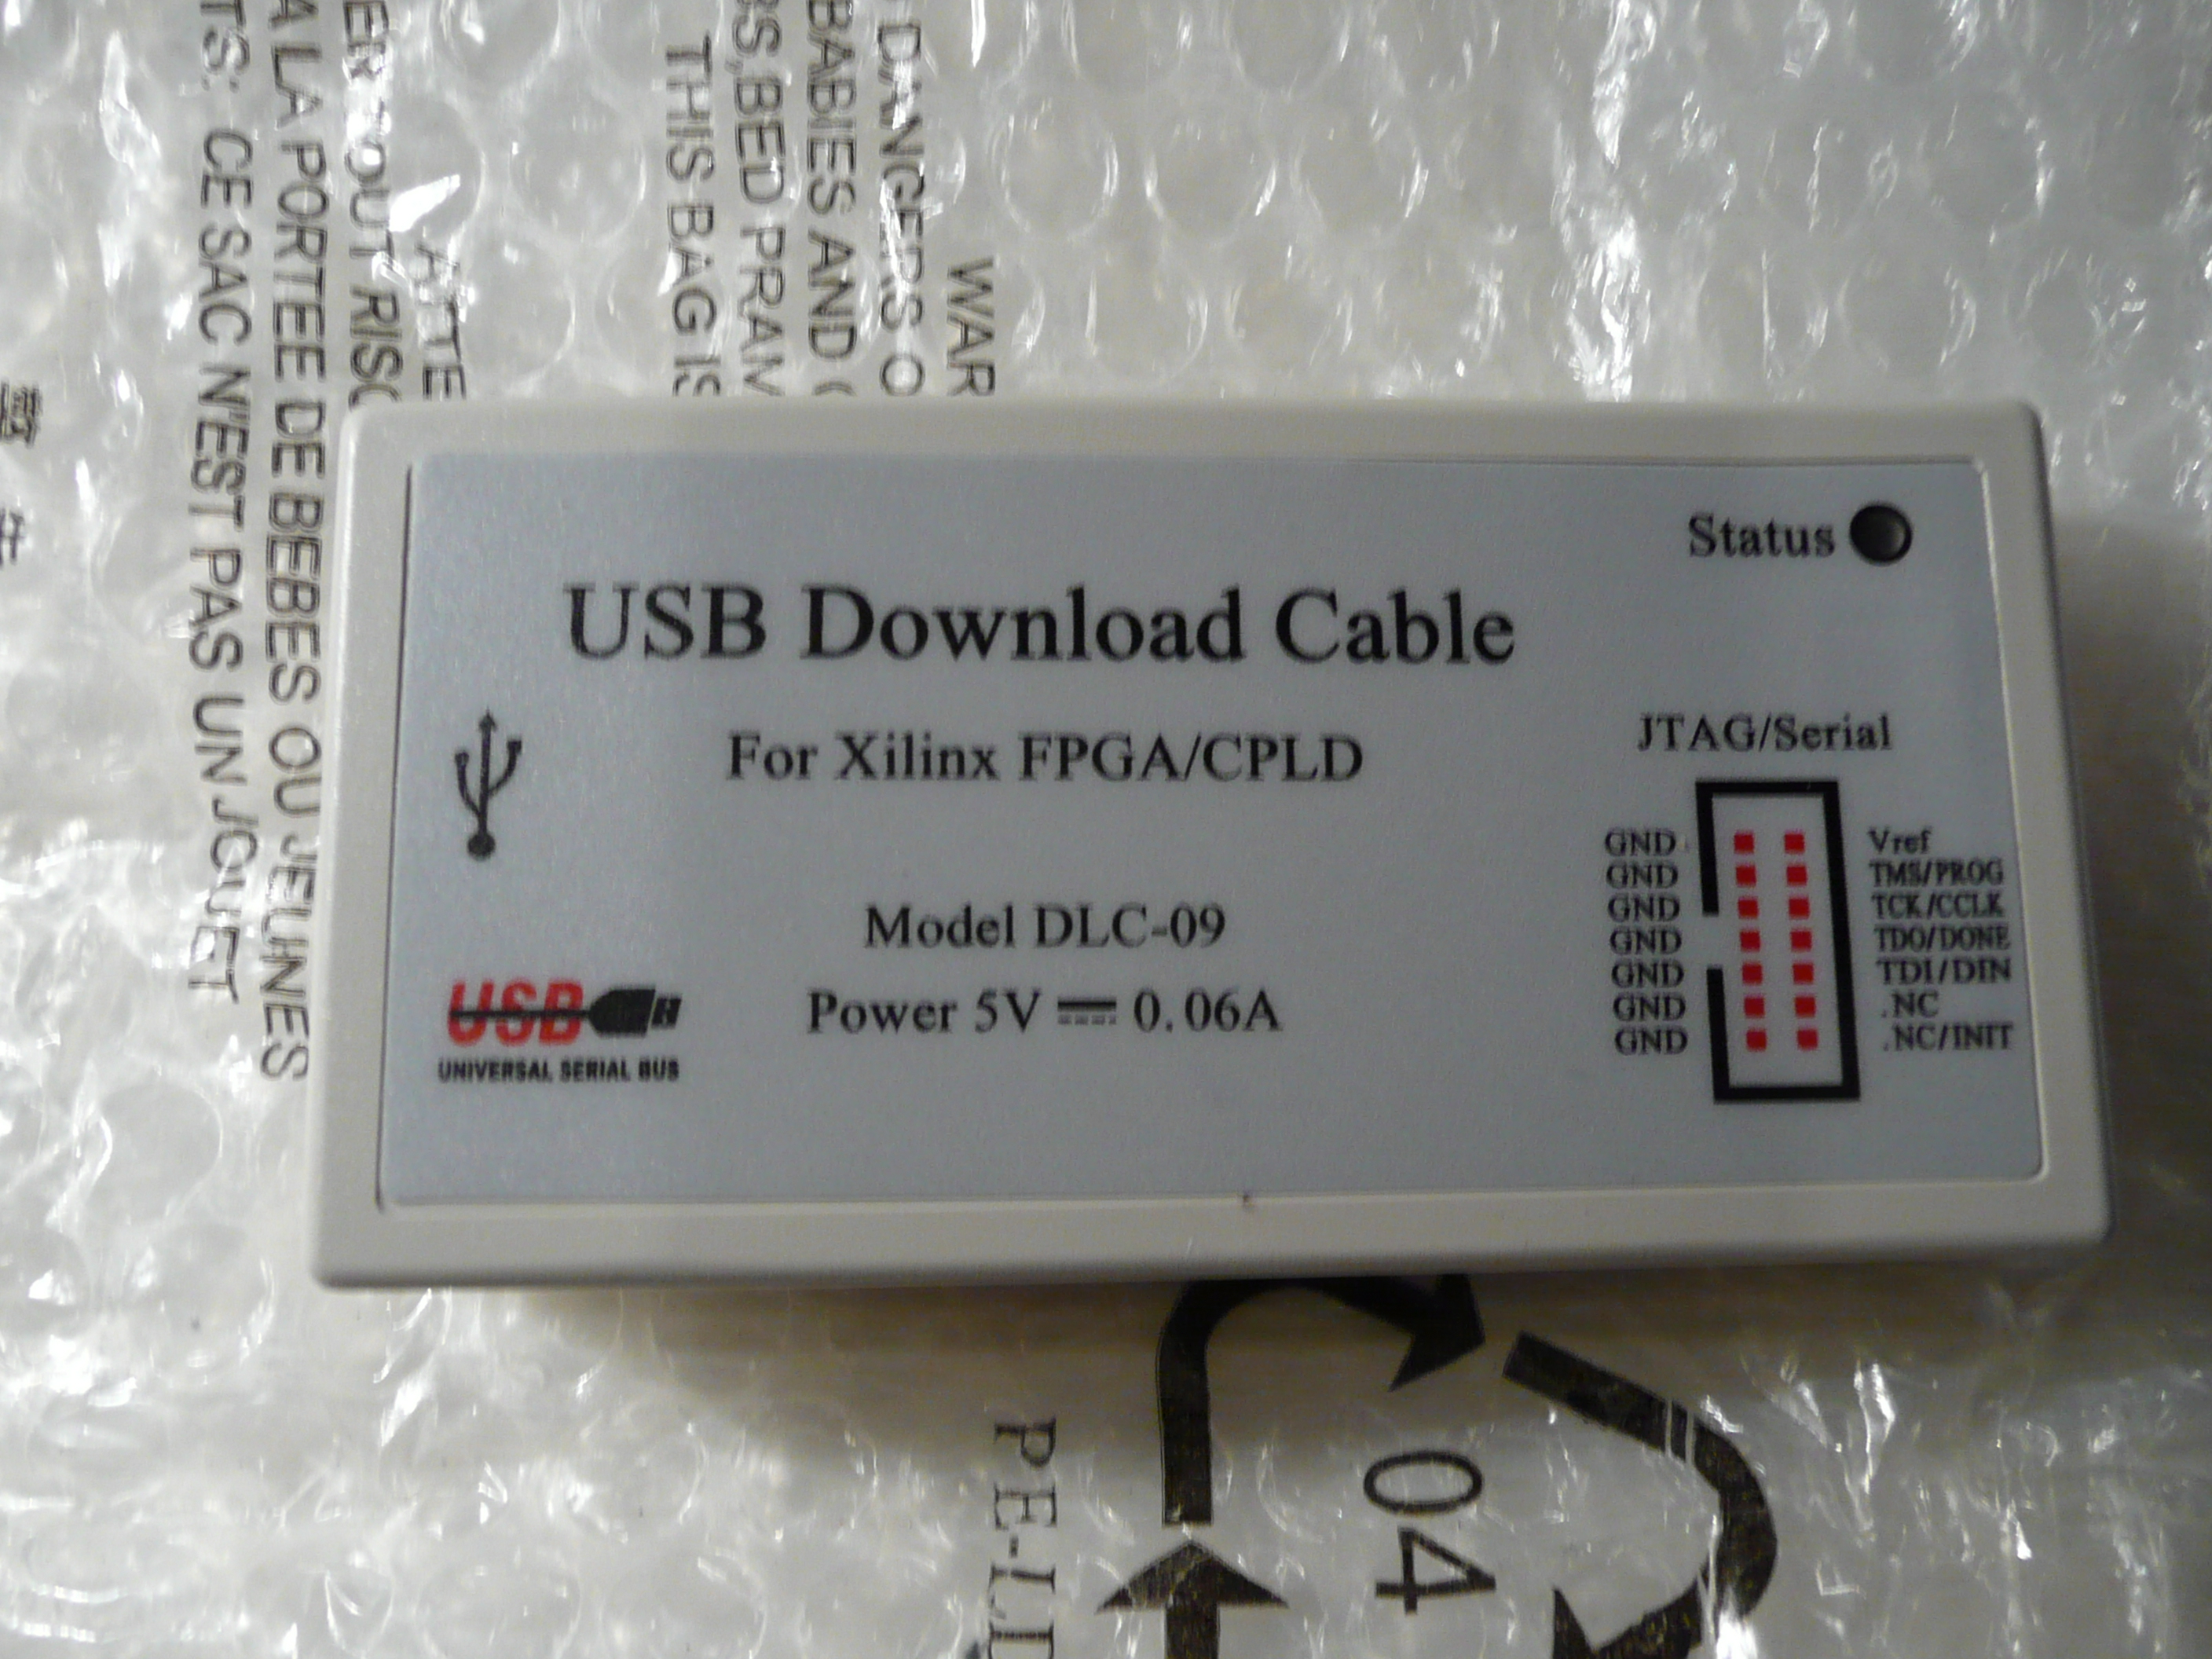
..anyway at this moment I'm totally hopeless.... I'm not even sure the JTAG programmer I will receive in about 20 days (hopely) will work....
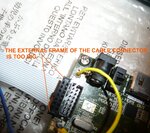
Even if the JTAG or stick will at last work.. well I will anyway find myself with a board which is not the board I paid for... I have thought about this, I need a fast port to store on a external device the frame grabbed from HDMI input port to realize my portable HDMI recorder... the USB Adept port would have been perfect for that... but now that it is gone?


Breathe in, breathe out.

1 - You can always stream udp packets from the gbit ethernet interface. That's even faster than the usb port.
2 - You can use the usb port with the Exar UART chip, but it's probably slower than the port you molested. :p
3 - After you find someone to do the solderwork for you, in all probability the molested port will work again.

So all's not lost. Just stay away from the soldering iron for now, so you don't make things worse. :p

---------- Post added at 23:46 ---------- Previous post was at 23:43 ----------

If I understand correctly mrflibble has the same board and he managed to make it work, maybe he can upload his bit file which works for sure so that you can try it too and at least you will be sure that the bit part is correct and search for another cause if it still doesn't work.

Indeed, I have the same board. And I already made a .bit file for him, with some leds + switches. The bit file works just fine here, the same way as all the other ones I've made for the Atlys board. So I seriously doubt the provided .bit file is the issue. But as I previously mentioned, he can e-mail digilent about it. I provided the specific target device used for the .bit file.

---------- Post added at 23:57 ---------- Previous post was at 23:46 ----------

The only other thing I can think of with the stick is that for whatever reason the file corrupted. I doubt it, but what the hell, can't hurt to double check.

Get the MD5 sum for the file ON THE STICK.

If you don't have a tool for md5um on windows, quick google told me this is reasonable:

WinMd5Sum Portable | PortableApps.com - Portable software for USB, portable and cloud drives

And as I mentioned earlier:

The file you should be putting on that stick should have this md5 checksum:

912b77143bb9111e53248b32d4f72f2e test.bit

So check if the md5sum is okay.
 

A quick update: my Atlys is still alive! 2 days ago I took an old USB cable and teared off one end. 5 "naked" colored wires came out: Red(V), Black(Gnd), Green (D+) White(D-) and thick black(Shield) ... I insulated the (useless) red V (5 Volt) signal... connected the USB plug on my PC, then connected the GND signal to the GND pad on the Atlys board (near the power plug) with some tape, the shield signal (probably the most important) on a metallic part of the board...then with my hand connected for some seconds both D+(green) and D-(white) to the pads of the destroyed USB Adept port (not on the end of the yellow wires you see in the picture, but directly those pads filled with that big solder balls...) well... for some seconds my PC RECOGNIZED THE BOARD AND STARTED INSTALLING THE DIGILENT DRIVER SOFTWARE :-D!!! (i tried again some hours after and worked again :lol: on another PC USB port..) Tried a third time but was not able to do it again.. Anyway it is a good new since at least I know now that my board is NOT DAMAGED AT ALL! and the USB Adept port is theorically OK!
 

Another update after 2 months.... well this morning I started working again on my project of videorecorder...
I tried to connect the JTAG USB Programming Cable... and guess what? The 14 pins header of the download cable
(picture here:
**broken link removed**
)
DOES NOT FIT AT ALL with the 14 pins JTAG header (J10) on my Atlys board!
I'm totally desperate now ....:-(
 
Last edited:

Here the pictures:
 

Attachments

  • P1000600.JPG
    P1000600.JPG
    651.8 KB · Views: 62

Why my USB download cable was shipped with the wrong connectors :cry:??
 

Why my USB download cable was shipped with the wrong connectors :cry:??

Well it's an inexpensive Xilinx knockoff for one reason. I purchased a couple of similar units for clients of mine, so that they could update firmware remotely. I'll see if I still have one laying around here and take another look at the cables and the "adapter" board. I don't recall the cabling arrangement.

BigDog
 

You know the pinout of your programmer cable, you know the pinout on the fpga board, so you can make a couple of flying leads yourself. (google "jtag flying leads" for some example pics). Or buy another connector as bigdogguru suggested.
 

OK.. I managed to meld some parts of the external plastic frame with a heated cutter, and now the connector fits perfectly :)
So.. my next step is looking for a guide that explains how to program this beast with the JTAG cable...
 

Just google around a bit with "jtag programming impact ise".
 

... my next step is looking for a guide that explains how to program this beast with the JTAG cable...

Chapter 7 of the following tutorial covers the use of Xilinx ISE Impact:

ISE In-Depth Tutorial

In summary, you simply attach your JTAG cable to the board's JTAG port, perform a boundary scan which will initialize and identify the devices attached to the JTAG chain and when prompted select the appropriate Bitstream, JEDEC or PROM file depending on the device.

BigDog
 

I read Chapter 7 of ISE Tutorial and tried to program my Spartan 6.
Well, I connected the Download Cable to the Atlys board. I connected the download cable via USB to my PC.
As soon as I powered on the Atlys, the status led on cable went to "green" (before it was red), so I suppose all the connections are ok.
The Jumper JP11 on Atlys was on all the time.
I started Xilinx iMPACT (0.61xd) (on Windows 7) , and chose to configure devices using Boundary Scan.
A message popped up saying something like "Too many devices in chain scan", and I have no clue what does this mean, as I have only ONE device: my Atlys ... I goggled a little but was unable to find a solution...
As a side note: When connecting the download cable I was not 100% sure how the ribbon was supposed to be connected on the little green die the cables comes with, there are two ways to connect it and there are no marks or signs that say how it should be attached...I looked at the picture on the advertisment homepage and just followed the way it appeared to be connected on the picture.. but since the status led was green, I suppose it is not a problem of wrong-way connection
 

I do not have an Atys Board here to troubleshoot the issue.

However, there are normally other devices on the JTAG chain other than the Spartan 6, such as EEPROMs or CPLDs utilized in the design.

When you perform a boundary scan does Impact correctly identify the Spartan 6 is indeed on the JTAG chain?

BigDog
 

Well, good thing you provided possible solutions yourself. ;)

1 - remove JP11.
2 - check datasheet of programmer + atlys to see if you should turn connector 180 degrees.

Okay, decided to test it. I usually have JP11 removed, but I decided just tested it and it works just fine both ways (JP11 ON or OFF). Also ...

Code:
jtgcfg init -d atlys

Initializing scan chain...

...

Found 1 device(s):
    Device 0: XC6SLX45

So scanning the jtag chain shows only 1 device in this case.

This as opposed to say a Nexys2, which has other devices as bigdogguru mentioned.

Code:
djtgcfg init -d nexys2

...

Found 2 device(s):
    Device 0: XC3S1200E
    Device 1: XCF04S

Short version: when scanning the jtag chain on an atlys board, you'd expect only 1 device (XC6SLX45). So that leaves checking the cabling, and possibly turning that connector 180 degrees.
 

I tried turning the connector 180 degrees....
I opened Impact.. right click and selected "initialize chain".. and an error message appeared:

"ERROR:iMPACT - A problem may exist in the hardware configuration.
Check that the cable, scan chain, and power connections are intact, that the specified scan chain configurations matches the actual hardware, and that the power supply is adequate and delivering the correct voltage."
HOwever the weird thing is that after this message.. a blue box saying "Identify succeded" appears on the right white sapce of impact..
but if I click on the message or on the white box the blue message disappears.....
 

Obviously the idea was to check documentation and based on that turn the connector. But then again just turning it 180 degrees and see what happens may be more your style. ;) Regardless, seems that doesn't work either. MMmmh.

Stupid question: do you know this piece of ebay hardware to in fact work? Before pulling your hair out while trying to get it to work on possibly fried hardware (your atlys) it is a better idea to first test your freshly-bought-from-ebay jtag programmer on some known to work hardware.

On a totally unrelated note: have you bought a set top box with HDD recorder yet? You know, the kind that is a mass produced item.

And of course that was a loaded question. The objective is that you go "What? BUY?!? HAH I WILL MAKE THIS MYSELF NO MATTER THE COST!". Well excellent, no worries, I have something that works with that. If you don't mind the development cost vs off the shelf cost then you certainly won't mind buying the cheapest little whatever board that has jtag on it. Purely to test your jtag programmer, and maybe even use it for something. Mmmmmmh *ponder* oh oh oh! I know. If you want it real cheap you could get an MSP430 launchpadthingy. Those are about $4.30 because of some clever person in the marketing department. First time ever that marketing was useful for something. I like that price point.

Other than ebay cheapies that $4.30 is the cheapest I can think of right now. And if you want something you can actually use in a Real Project [tm] you can get something like this:

STM32F4DISCOVERY - STMicroelectronics

STM32F4DISCOVERY STMicroelectronics Development Boards & Kits - ARM

Only 14 euro, which is even less than what you paid for your programmer IIRC.
 

Unfotunately I DO NOT know the pinout of my programmer cable, no datasheet came with the programmer...
 

Oh whatever can be done to fix that situation? If only there was some sort of technology that could be used to search for information...
 

@ all .. I have tried all posible method trying to load the .bit file from a usb stick.but nothing workout.. the major problem with this is that the port supplies maximum of 100mA...so we have to use a USB that has a MAX Power consumption of 100mA or less.. . Check USB descriptor to see the specifications of your USB..
 

Status
Not open for further replies.

Part and Inventory Search

Welcome to EDABoard.com

Sponsor

Back
Top