Vermes
Advanced Member level 4
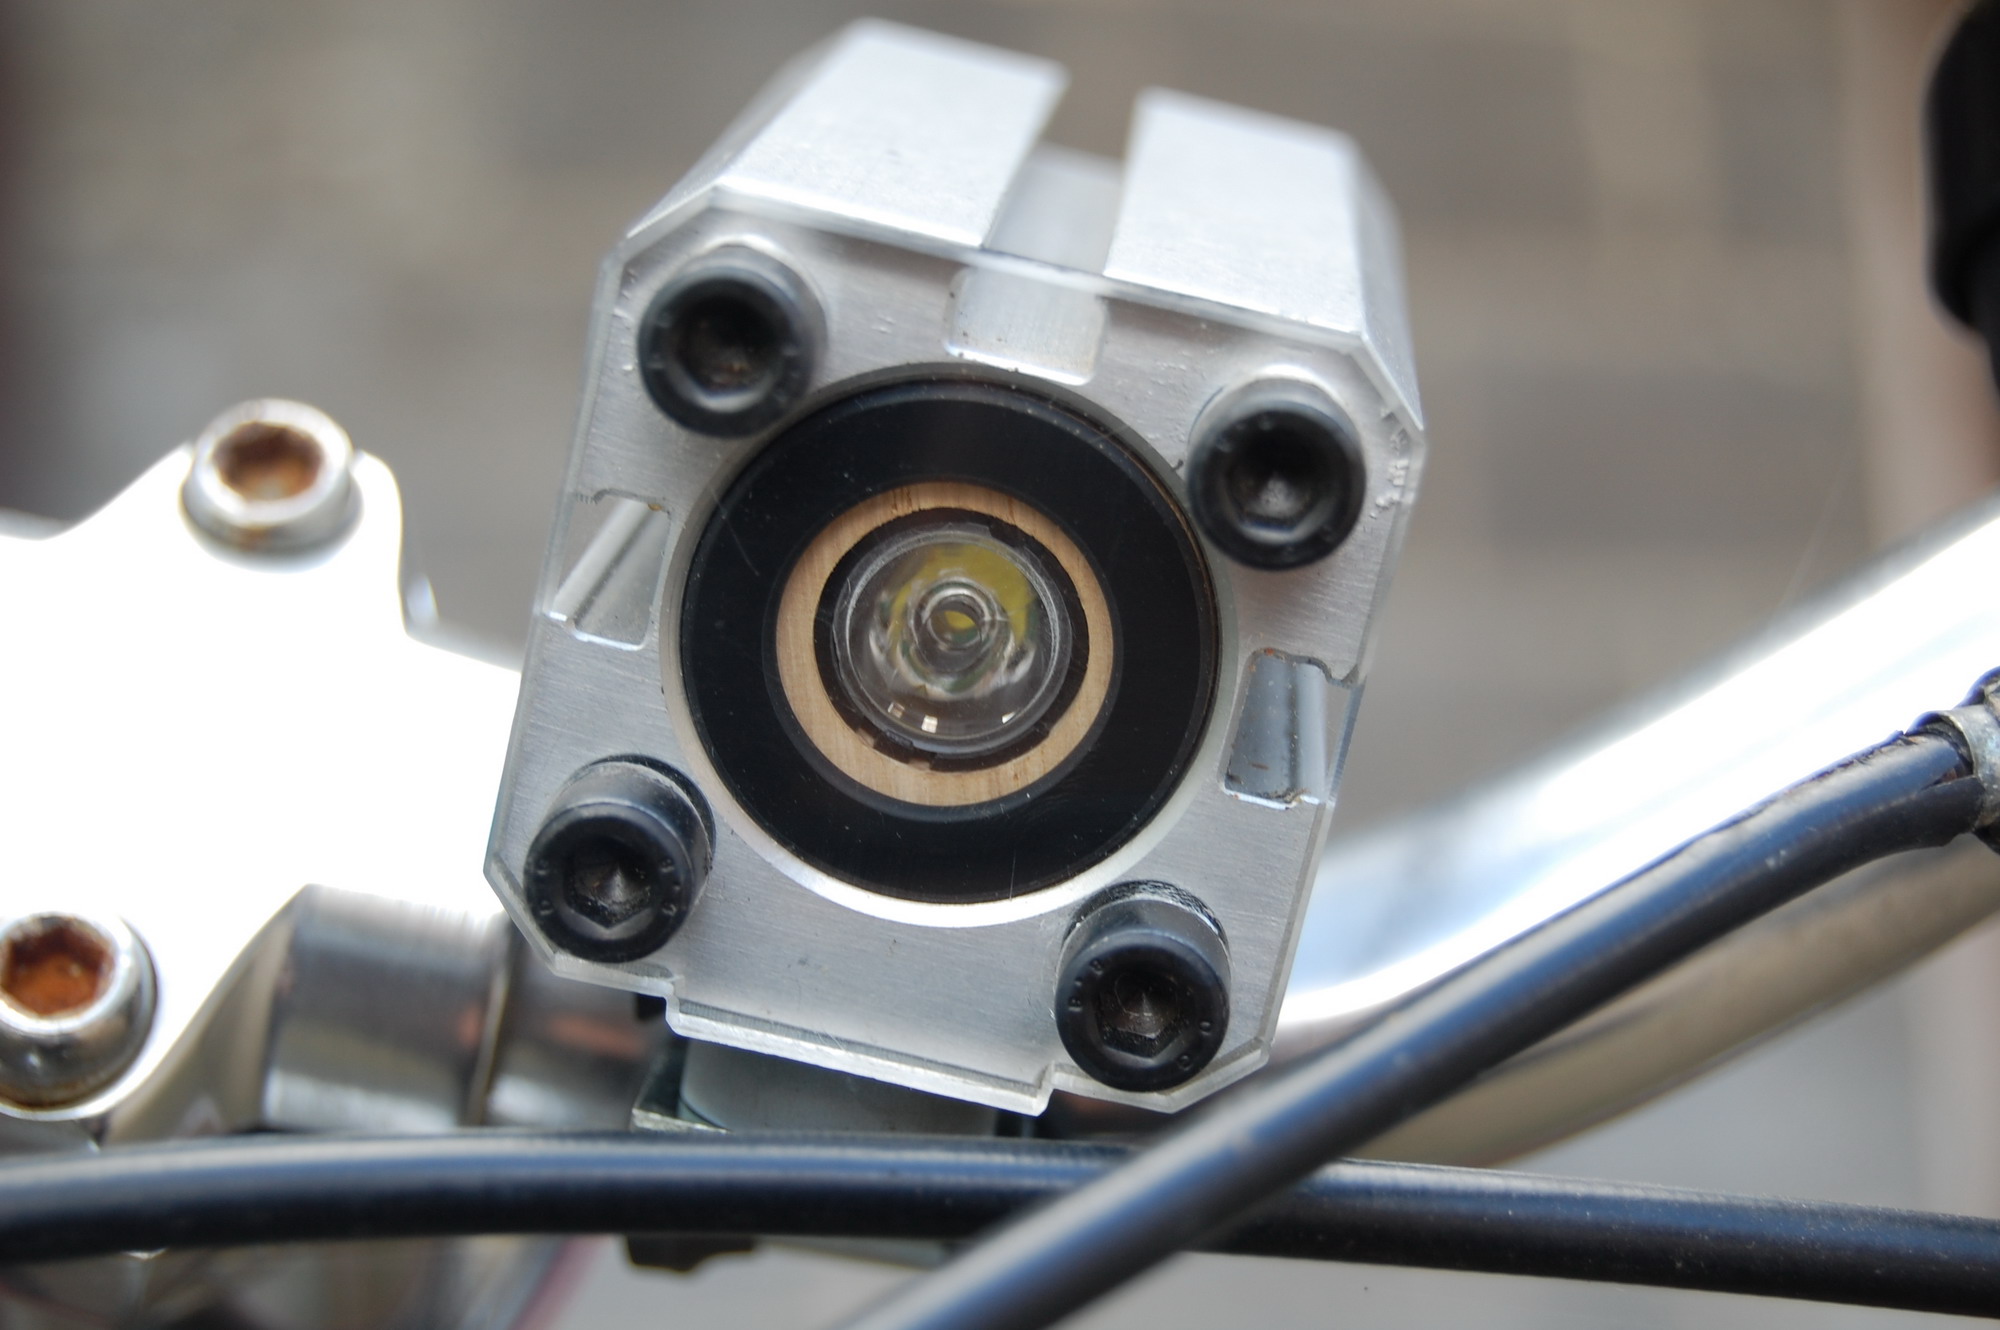
Front light
The diode used was CREE XP-G R5 with MCPCB plate and the lens at angle focus 25 degrees. It gives a lot of light and heat. The diode with the controller and power supply of Li-ion gets current of 1200mA, so the diode gives less than 500lm of light. The controller does not have any modes.
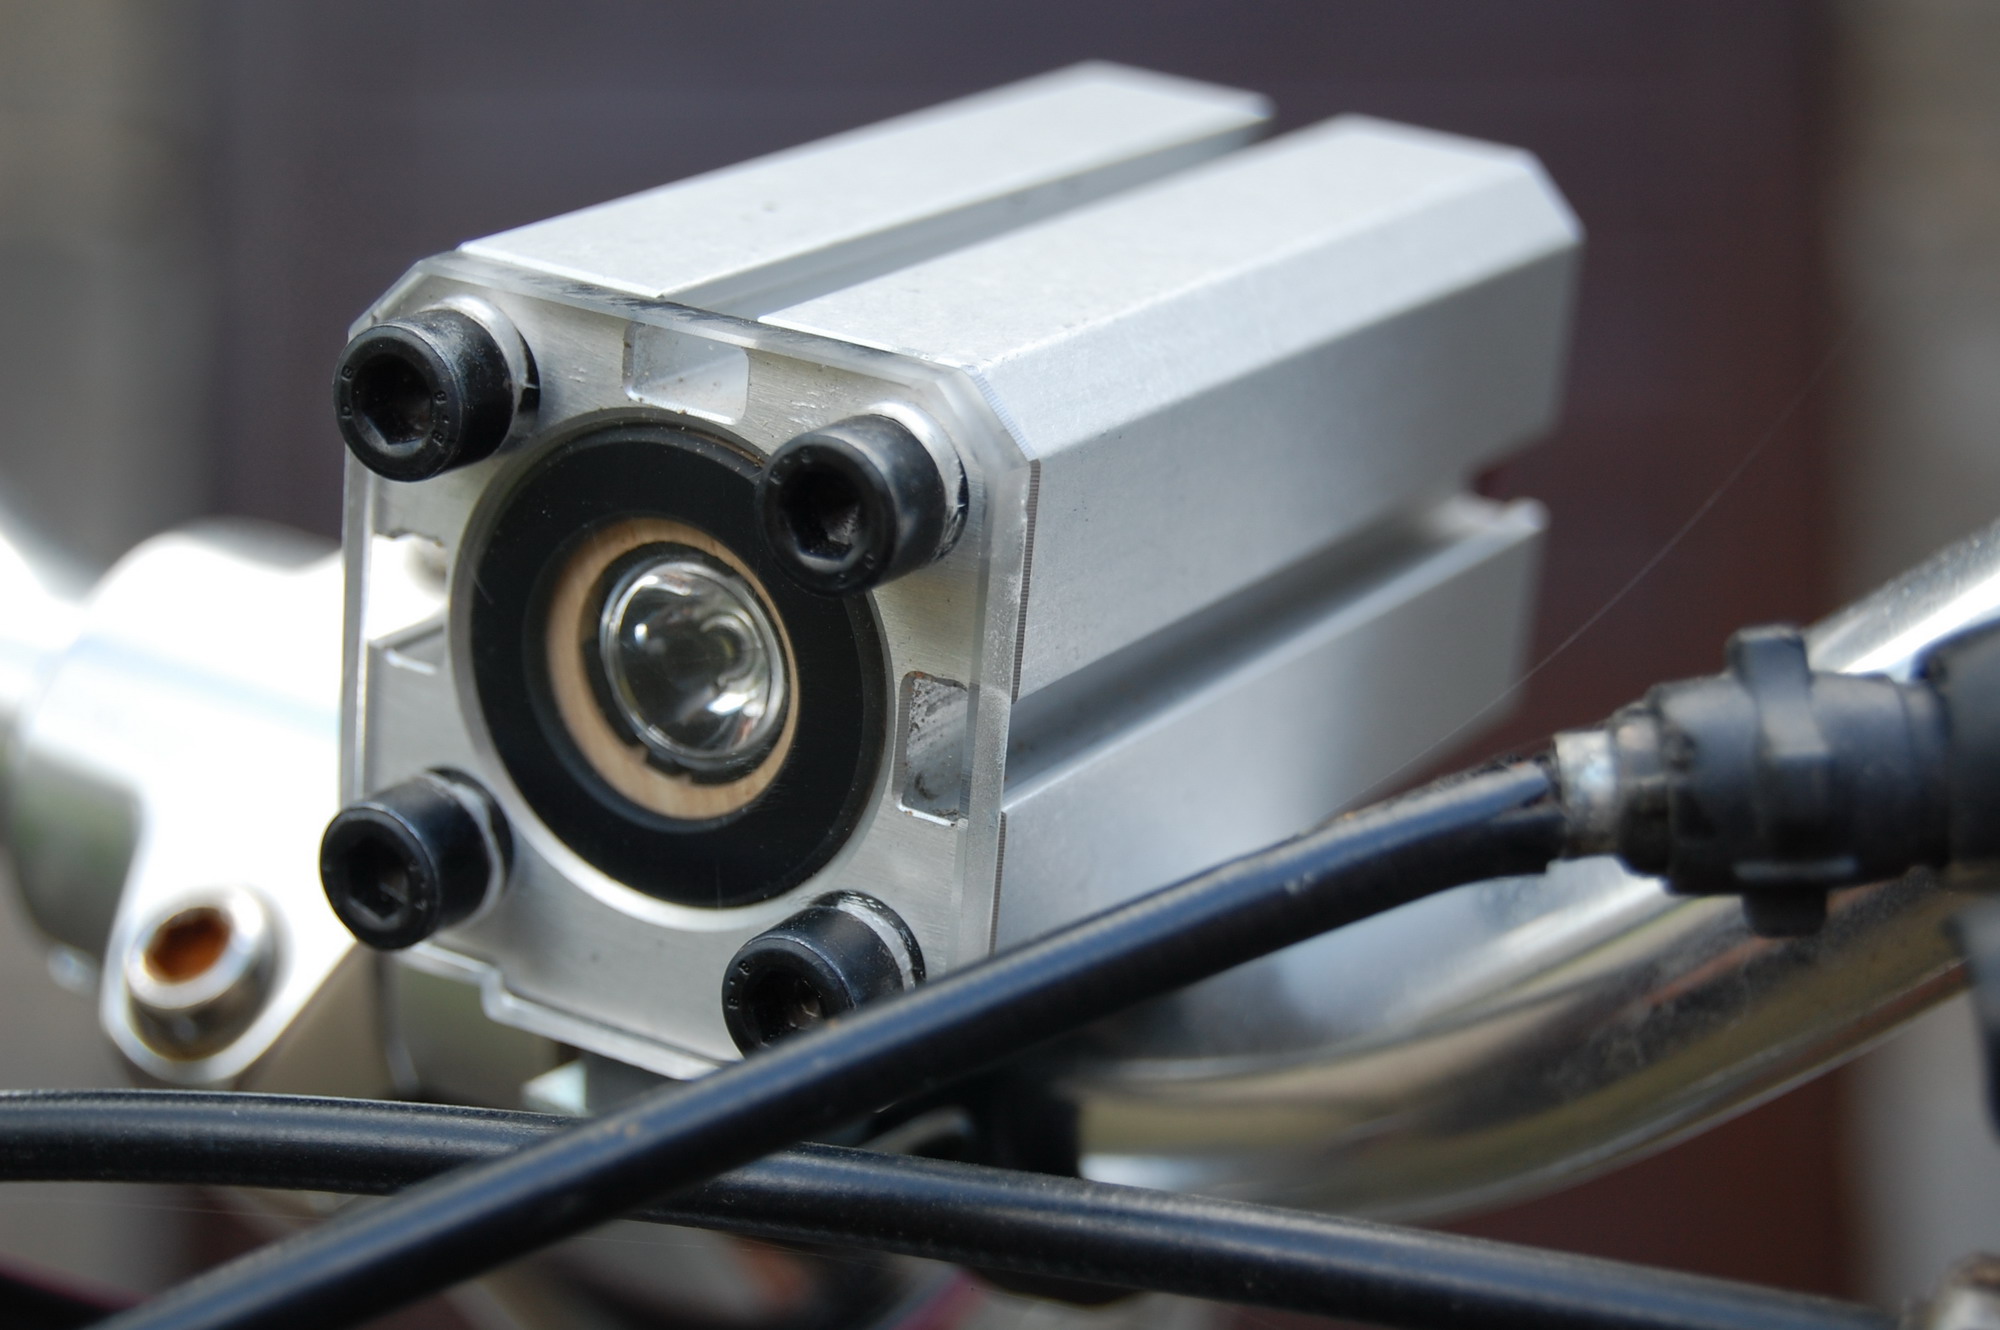
Housing of the torch
It was made of a waste pneumatic actuator of perfect dimensions. The piston hole was slightly larger than diode's star and the piston was cut on a lathe, and acts as a heat sink (just like the whole torch). The star is attached to the heat sink with M3 screws with use of large amount of thermal paste. The whole heat sink is blocked with Brok screwed from the bottom of the torch. The driver is fixed at the rear of the heat sink. Power socket, which has soldered spring in the inside, is placed in the back of the torch. The spring contacts with the appropriate driver field. The mass is powered on the whole housing. The lens with a wooden bush is on from the front. It is covered with a sealing rubber O-ring and appropriate cut piece of plexiglass, that strongly presses the O-ring and flatters it. All the necessary connections are secured with silicone. The handle is a simple clamp from the water pipe. The torch is not small, but there is no problem with heating up.
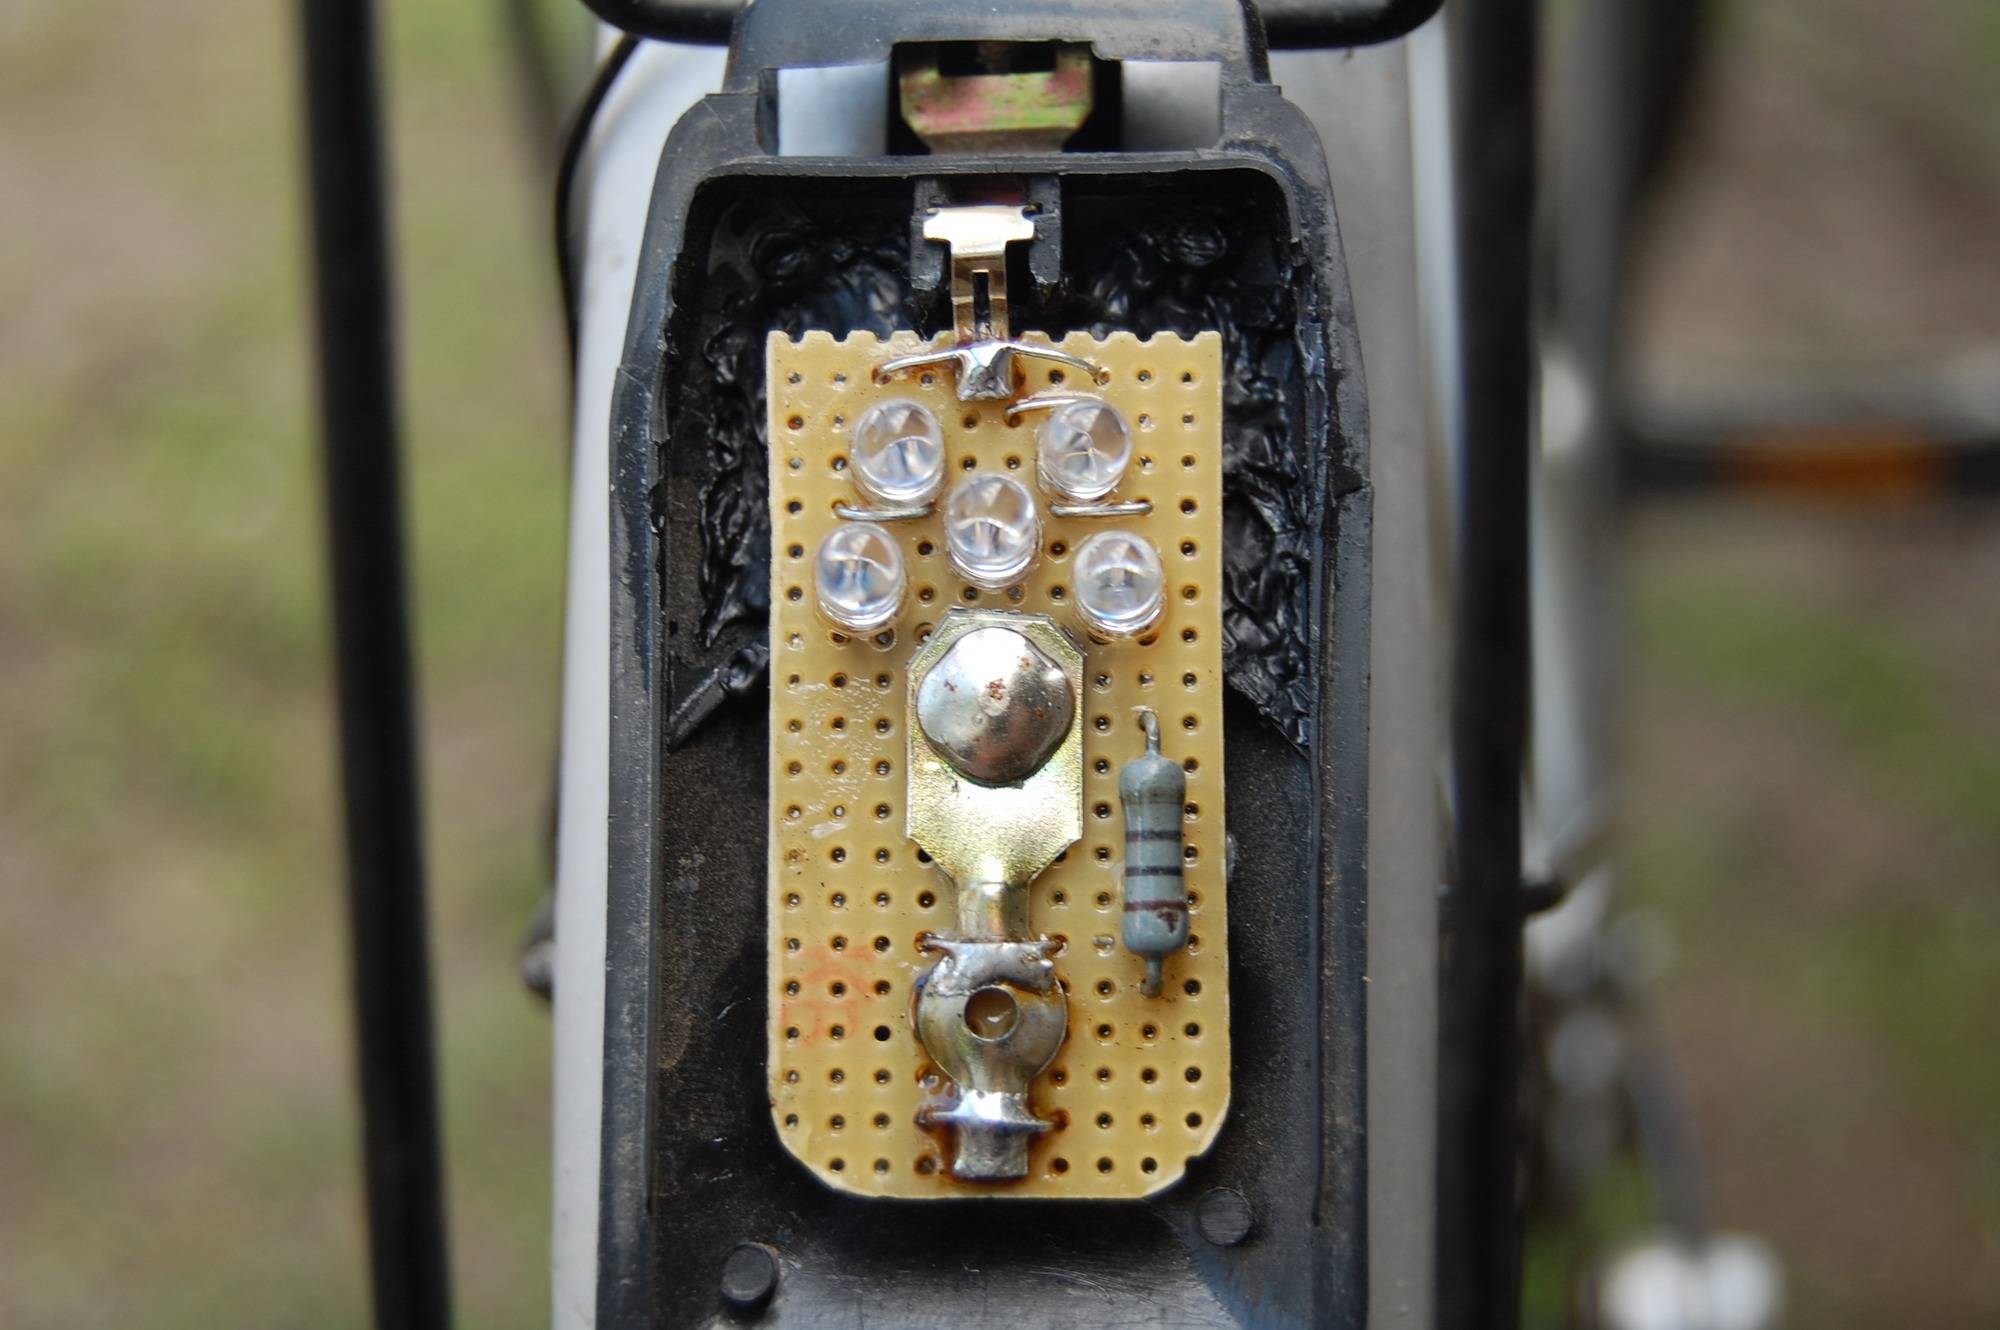
Rear light
The entire measure with the bulb was thrown away and an universal one with diodes and resistor 10ohm was placed instead. Plastic should be burned a little with soldering iron then. The plate was lacquered.
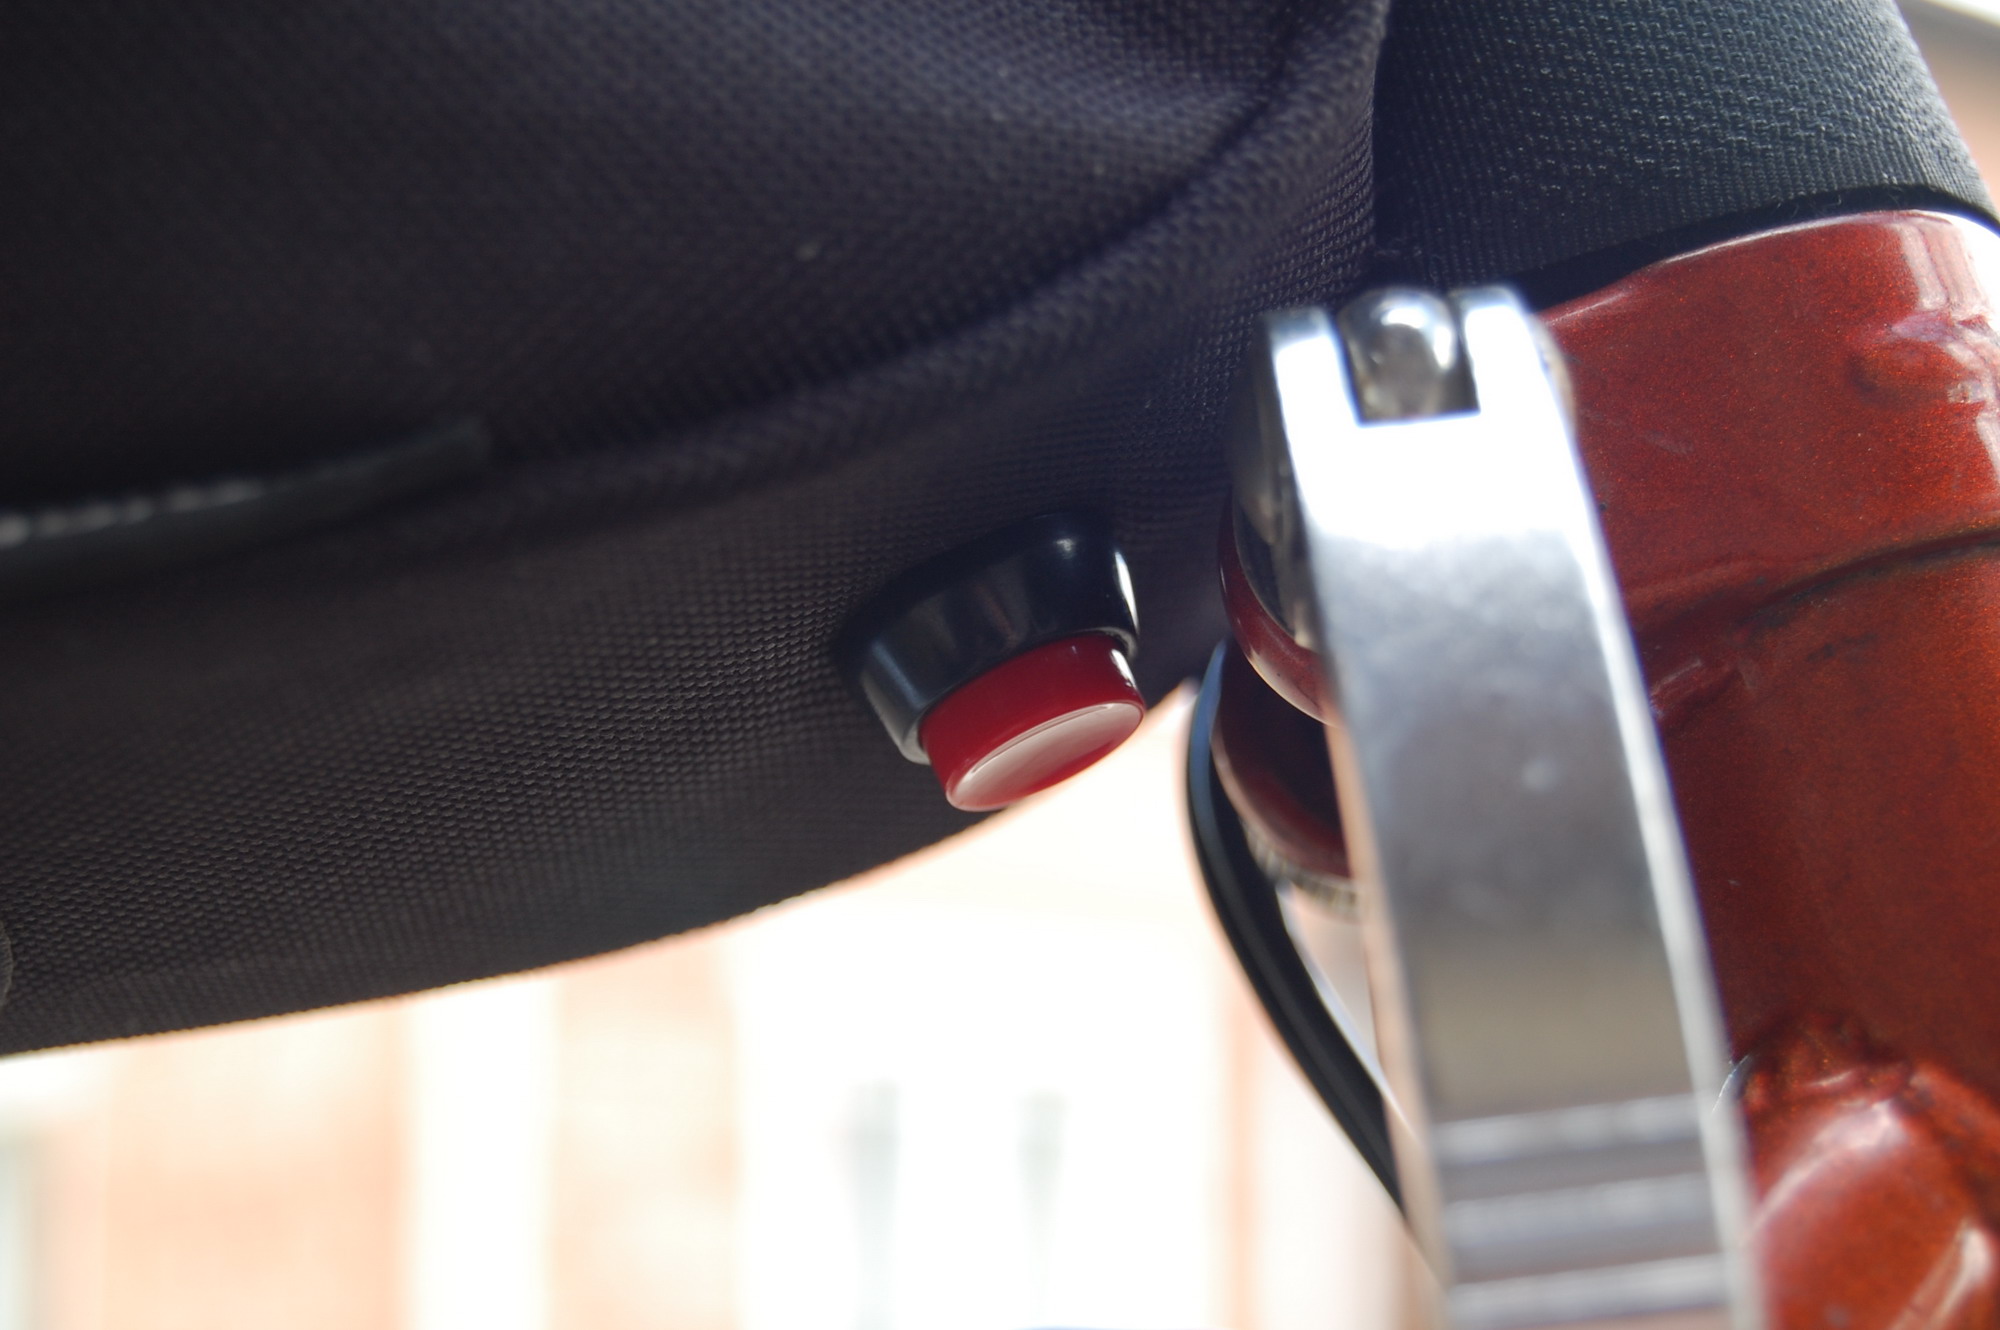
Power supply
The whole is powered from two cells 18650. Holders have PCB with protection. 1S2P holder was used. This solution is not the best, because PCB will cut the power when voltage drops under 2,5V and the light will go out. The whole is placed in a pouch under the seat. Also a driver to the rear light on cube 555 flooded with glue in a condenser housing is added in the pouch. There is a switch from the bottom.
Pictures:


Link to original thread – Mój sposób na oświetlenie do roweru.