Vermes
Advanced Member level 4
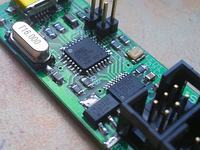
USBTiny-MKII SLIM programmer supports all the microcontrollers: Attiny, Atmega and Xmega. It has three programming interfaces: ISP, PDI and TPI. It directly cooperates with AvrStudio or AvrDude. A little plate is equipped with double-direction tension translator for all interfaces, cooperating from 1,2V, a jumper that allows to power the target system 5V or 3,3V (LDO 3,3V stabilizer) and signaling LEDs. The main element of the system is AT90USB162 controller with a hardware USB interface, so that the programming speed is very high.
The programmer:
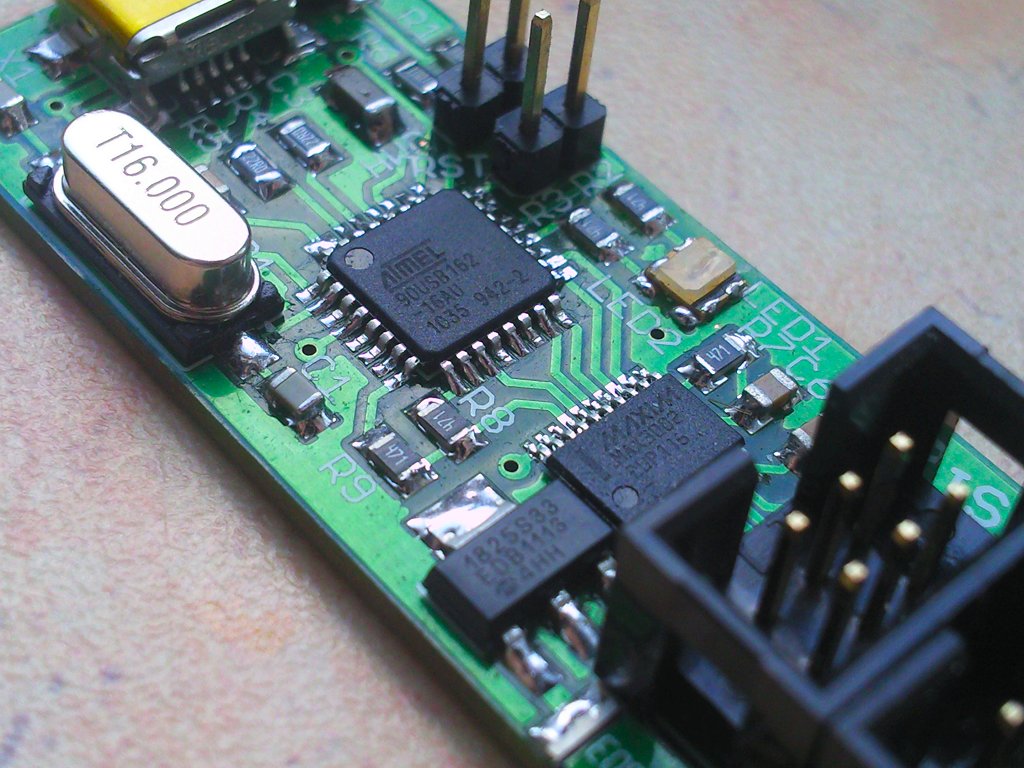
The system is built on base of another project (LINK), the programmer modeled on USBTiny-MKII **broken link removed** and USBTiny MKII PL (LINK). Instead of original tension translator GTL2003, MAX3002 was used, because it is easier available. The change requires a small code modification.
The programmer has three bath connectors 6pin to handle the three protocols: ISP, PDI and TPI.
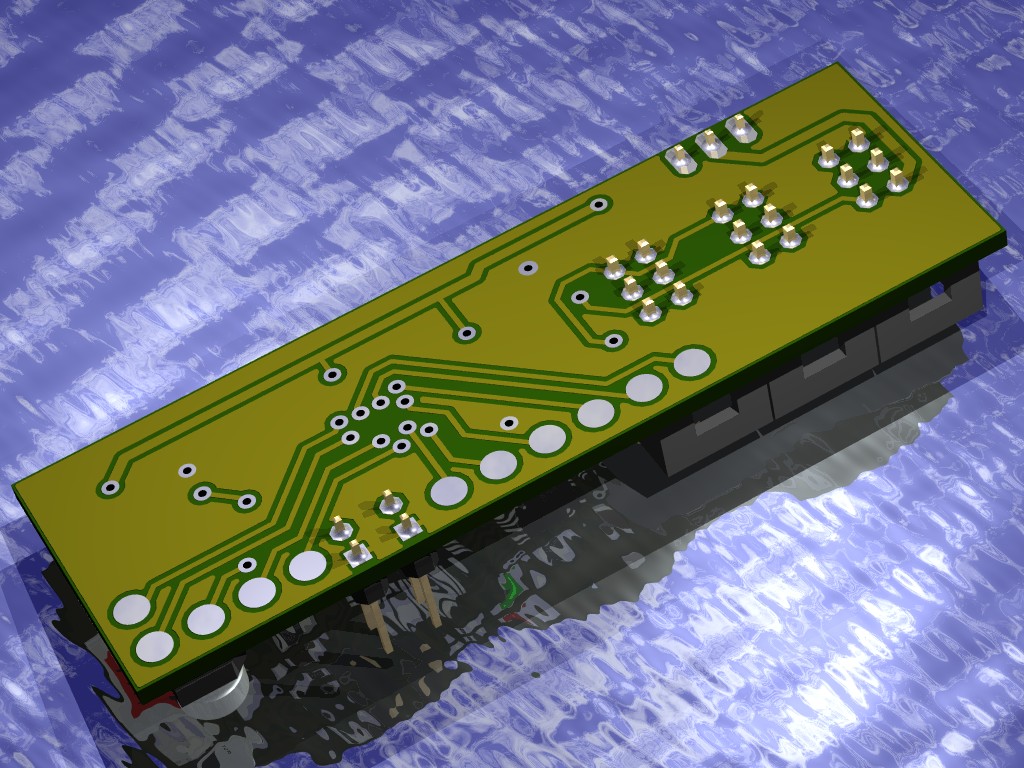
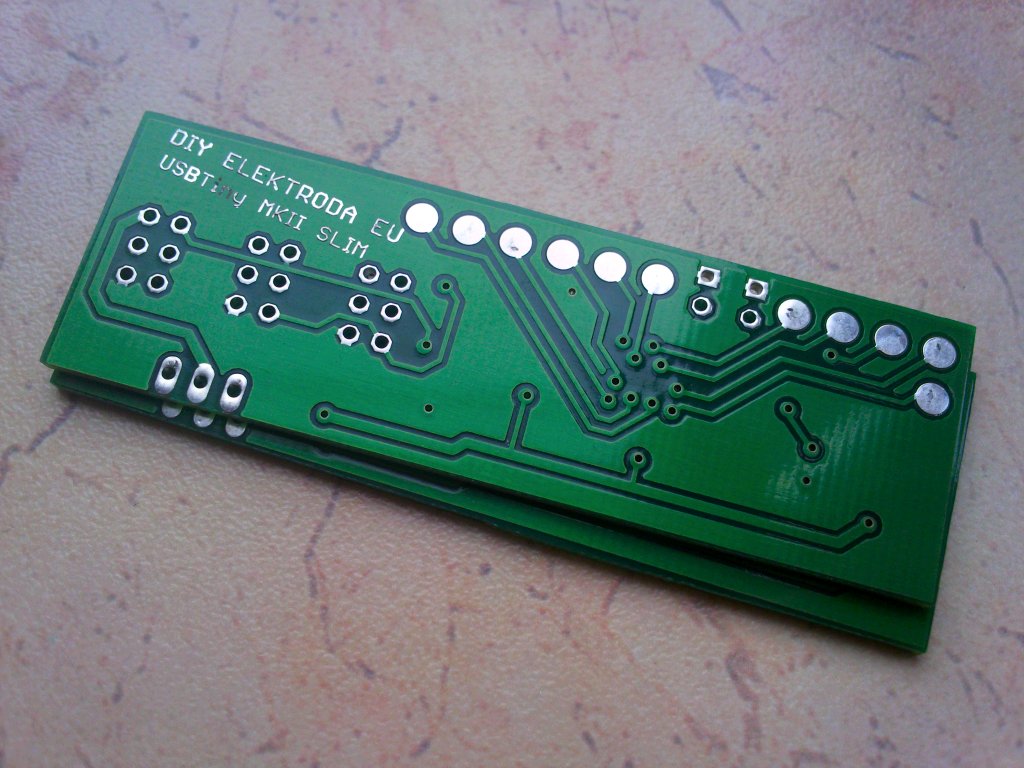
They allow to program all available Atmega, Attiny and Xmega systems. The plate looks complicated and crowded, but it can be made in domestic conditions. The vias needed for the programmer, can be made of a wire. Vias under at90usb162 system move out the remaining pins to the bottom of the plate, where sizeable pads are – so the system can be used as a testing plate for different programs using USB hardware. Changing the program is really simple, because it is done by a fast USB bootloader and the free tool from Atmel – FLIP .
Under the bath sockets there is a jumper to choose the tension used to power the target system. Positioning of 1 and 2 pin – tension of 5V. Positioning of 2 and 3 – tension of 3,3V. In order to decrease the tension, a line stabilizer LDO type MCP1825S-3302ED was used. Another stabilizer can be soldered, it only has to be vertically according, like LF33. The jumper completely removed wouldn't give any tension to the target program, so it is for the secondary side of the tension translator, which has to have the power supply. In this case the power supplying tension has to be lead by tape from the target system.
The programmer has to be supported directly from AvrStudio or indirectly by AvrDude.
Starting:
After correct mounting the system, it should be connected to USB port and a new device 'AT90USB162 DFU' should be detected. Then it is time to load and instal the FLIP program from Atmel. When installing the driver, a folder from catalog Atmel\Flip\usb\ should be chosen. After correct installation, FLIP should be activated, icon with the system clicked and at90usb162 chosen from the list. Another icon with USB should be clicked then and USB chosen from the list, and OPEN in next window. The program should fully detect the system. When error window occurs, it means that a mistake was made during the operation. Then there are three options: to reload the driver, connect to another port or reboot the system.
When the system is new (empty), it should start automatically in bootloader after connecting. If it is only reloading, a jumper should be put on HWB pins and the RST pins should be jumper. Then the system starts in bootloader. After that, jumpers can be taken away.
When someone wants to self compile the code, WinAvr in 2010-01-10 version would be needed. After 'make clean', 'make all' should be given and this is all. But it is essential to choose which program – AveStudio or AvrDude would be used. When it's AvrDude, to makefile should be added: C$DEFS+=-DLIBUSB_DRIVER_COMPAT
Another step is loading the file to the memory. In FLIP, an opened book icon with 'to' arrow should be clicked and things to load should be selected. Then RUN should be clicked. 'erase', 'program' and 'verify' should be matched. The program would be installed quickly. The programmer should be disconnected and reconnected or RST pins jumper. Then both LEDs on the plate would light.
After that, the computer detects a new device LUFA AVRISP MkII CLONE – it's time to install the driver. When AvrStudio was chosen, the driver should be installed from catalog Atmel\AVR Tools\usb\ - it's made during AvrStudio installation. When it is AvrDude, LIBUSB driver should be installed. After unpacking, inf-wizard should be started and the proper programmer chosen from the list, created file should be saved and 'install now' clicked or windows installer started. LED1 would light on programmer what means it's ready to work.
In AvrStudio it is only to click 'Con' icon, choose programmer AVRISP mkII and clock 'connect'.
In AvrDude it is to change the programmer type in the command line into '-c avrisp 2 -P usb' or '-c avrispmkII -P usb'.
Tested programmer prformance:
- ISP: Atmega2560
- TPI: Attiny10
- PDI: AtXmega16A4


Link to original thread (useful attachment) – Programator USBTiny-MkII SLIM