JohnJ
Member level 3
- Joined
- Nov 2, 2005
- Messages
- 56
- Helped
- 5
- Reputation
- 10
- Reaction score
- 3
- Trophy points
- 1,288
- Location
- St. Petersburg, Florida
- Activity points
- 2,084
+diy protect +pcb from moisture +paint
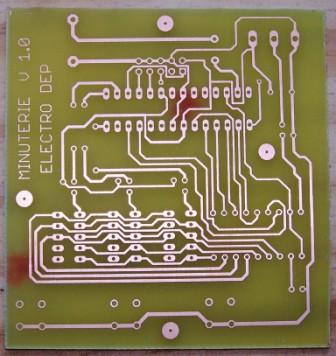
Just a "me too", but I was making PCBs we used in 'one of a kind' production test equipment. I used the positive photo resist type. I tried several direct transfer methods with no success. Here's some of the things I found through trial and error:
I used overhead projector transparency sheets in a inkjet printer. I couldn't get a laser-printer to make the dark areas uniform enough. It created very fine breaks in my tracks. You must get the right transparencies for your printer. They use peel off tape in the right places for each type of printer to activate the optical paper sensors the printer uses to sense and place the paper. Laser transparencies will not work with ink-jet (I tried!), it has to do with laser fusing powder to the sheet as opposed to spraying ink in an inkjet. The transparencies are available at any office supply as overhead projector transparencies.
For an exposure lamp I just used one of those cheap ~18" florescent lamps and a UV bulb from the hardware store. I made some 6" legs for consistent exposure distance. I found that as long as you turned off any lights (including direct sunlight) hitting your work directly, you don't need a dark room. I just turned off the overhead lights and I'm still not sure that was necessary. Exposure time takes some experimenting, that's why a consistent light distance will help.
A piece of Plexiglas or glass works great to hold the transparency flat against the board. I made a Plexiglas fixture with alignment pins so I could do double sided boards. A couple of holes in the board and the masks works great for lining things up.
Developing the etch mask, at least on the positive type is just some type of alcohol and only took a few minutes to do. The chemicals are safe for pouring down the drain when done.
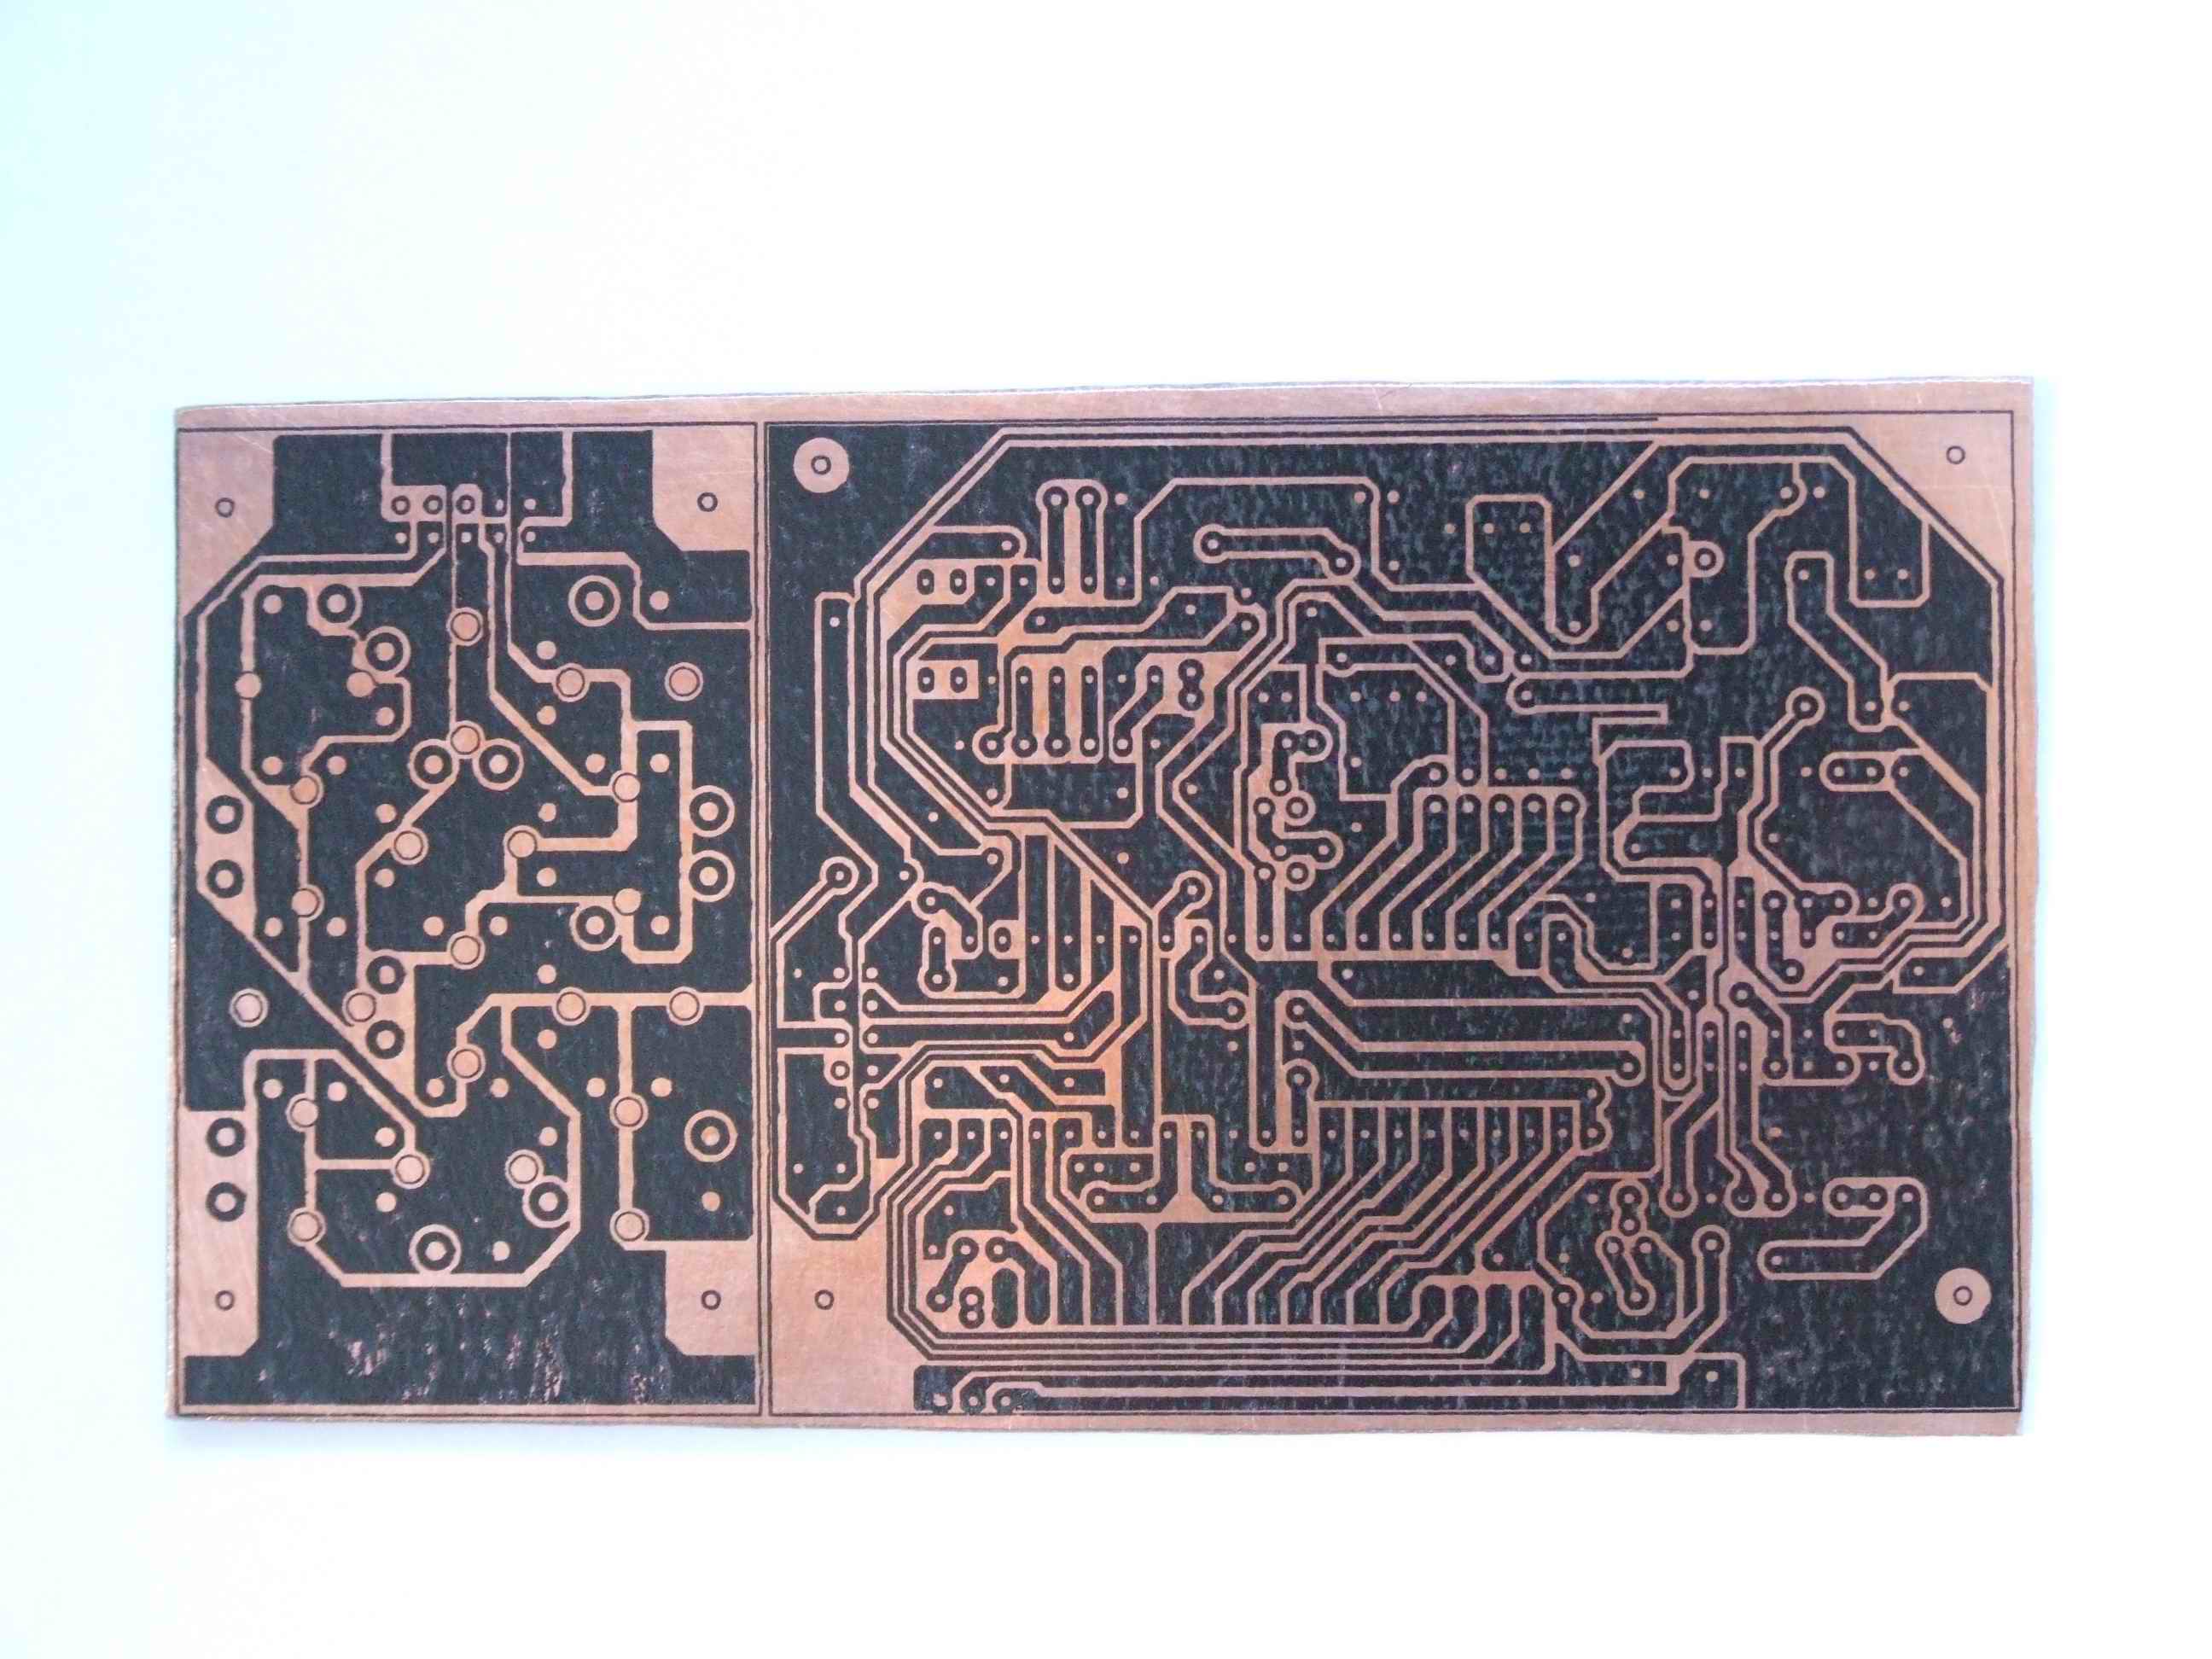
Warm etchant works best because the longer it takes to etch, the more likely you are to have hairline breaks in your conductors. I used ferric-chloride and added almost boiling water. The relative 'strength' of the etchant is less important than the temperature (WITHIN REASON). Strangely, the side of the board facing down etched faster than the top. I have no idea why. Agitate!
I tried to use spray on board sensitizer. I never got good results. It was clear so you couldn't see if it worked or if your exposure was right. Also, the pretreated boards came with colored resist making it easier to check your quality.
No matter how you make the boards, ohm out all the tracks! Hairline cuts in the tracks were a constant problem.
After saying all that, you can use the 'rub-on' resists to make a decent board as well, but etchant leaking under the tape or rub-on was a constant problem, minimum track width is limited, the seams between the rub-ons, and the tape does not like to turn corners without leaving a void (hairline cuts again).
Also, you can get boards made as cheaply as $50 US, at least here in the US. Of course, that spoils the fun. There are several places that will make them cheap.
All that, of course, depends on how much you are going to spend and how many boards you will make over time.
ONE LAST WARNING....Ferric-chloride stains cloths! It's worse than blood (same problem, iron-oxide).
Sorry to be long winded. I hope this helps.
Just a "me too", but I was making PCBs we used in 'one of a kind' production test equipment. I used the positive photo resist type. I tried several direct transfer methods with no success. Here's some of the things I found through trial and error:
I used overhead projector transparency sheets in a inkjet printer. I couldn't get a laser-printer to make the dark areas uniform enough. It created very fine breaks in my tracks. You must get the right transparencies for your printer. They use peel off tape in the right places for each type of printer to activate the optical paper sensors the printer uses to sense and place the paper. Laser transparencies will not work with ink-jet (I tried!), it has to do with laser fusing powder to the sheet as opposed to spraying ink in an inkjet. The transparencies are available at any office supply as overhead projector transparencies.
For an exposure lamp I just used one of those cheap ~18" florescent lamps and a UV bulb from the hardware store. I made some 6" legs for consistent exposure distance. I found that as long as you turned off any lights (including direct sunlight) hitting your work directly, you don't need a dark room. I just turned off the overhead lights and I'm still not sure that was necessary. Exposure time takes some experimenting, that's why a consistent light distance will help.
A piece of Plexiglas or glass works great to hold the transparency flat against the board. I made a Plexiglas fixture with alignment pins so I could do double sided boards. A couple of holes in the board and the masks works great for lining things up.
Developing the etch mask, at least on the positive type is just some type of alcohol and only took a few minutes to do. The chemicals are safe for pouring down the drain when done.
Warm etchant works best because the longer it takes to etch, the more likely you are to have hairline breaks in your conductors. I used ferric-chloride and added almost boiling water. The relative 'strength' of the etchant is less important than the temperature (WITHIN REASON). Strangely, the side of the board facing down etched faster than the top. I have no idea why. Agitate!
I tried to use spray on board sensitizer. I never got good results. It was clear so you couldn't see if it worked or if your exposure was right. Also, the pretreated boards came with colored resist making it easier to check your quality.
No matter how you make the boards, ohm out all the tracks! Hairline cuts in the tracks were a constant problem.
After saying all that, you can use the 'rub-on' resists to make a decent board as well, but etchant leaking under the tape or rub-on was a constant problem, minimum track width is limited, the seams between the rub-ons, and the tape does not like to turn corners without leaving a void (hairline cuts again).
Also, you can get boards made as cheaply as $50 US, at least here in the US. Of course, that spoils the fun. There are several places that will make them cheap.
All that, of course, depends on how much you are going to spend and how many boards you will make over time.
ONE LAST WARNING....Ferric-chloride stains cloths! It's worse than blood (same problem, iron-oxide).
Sorry to be long winded. I hope this helps.