mailus
Full Member level 4
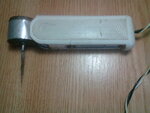
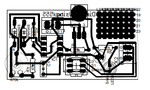
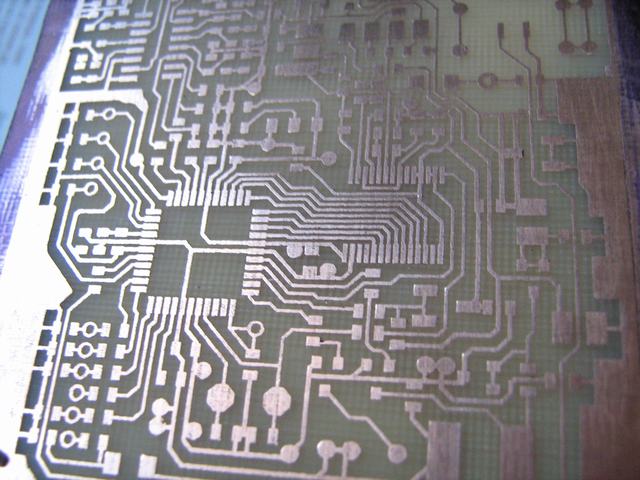
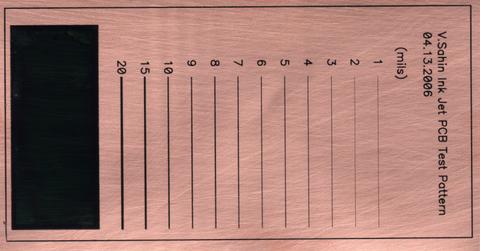
1) what are the methods available to make home made single side PCB?
2) which method is cost effective?
3) which method gives good result?
4) how to make it?
2) which method is cost effective?
3) which method gives good result?
4) how to make it?
Last edited: