Vermes
Advanced Member level 4
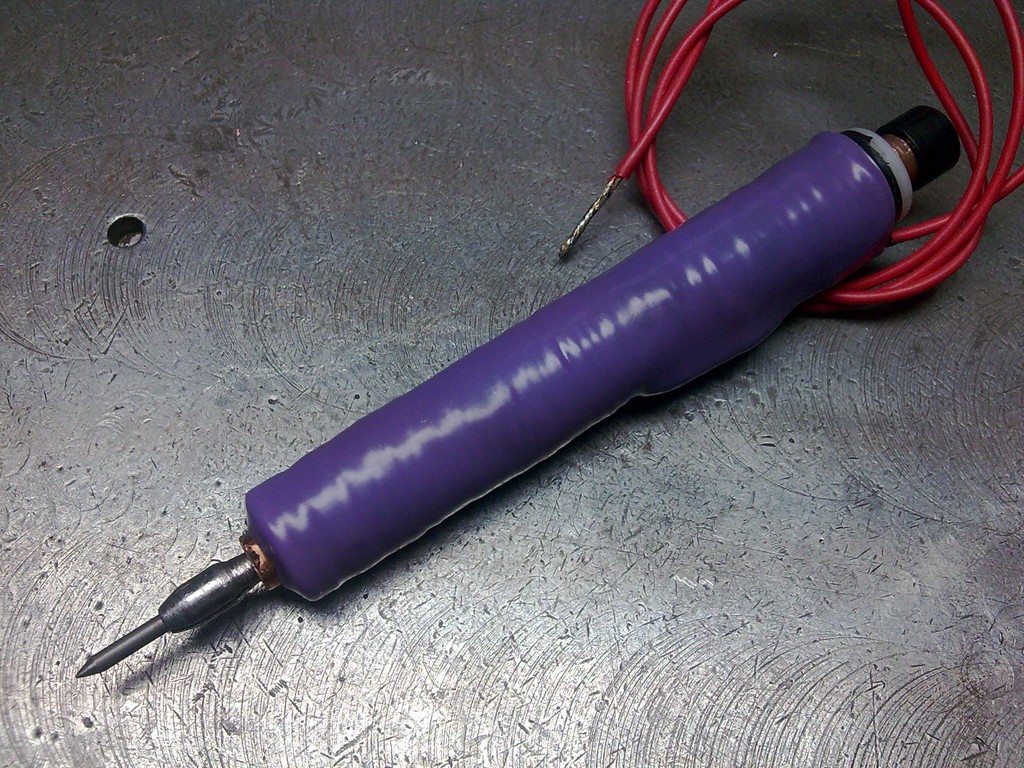
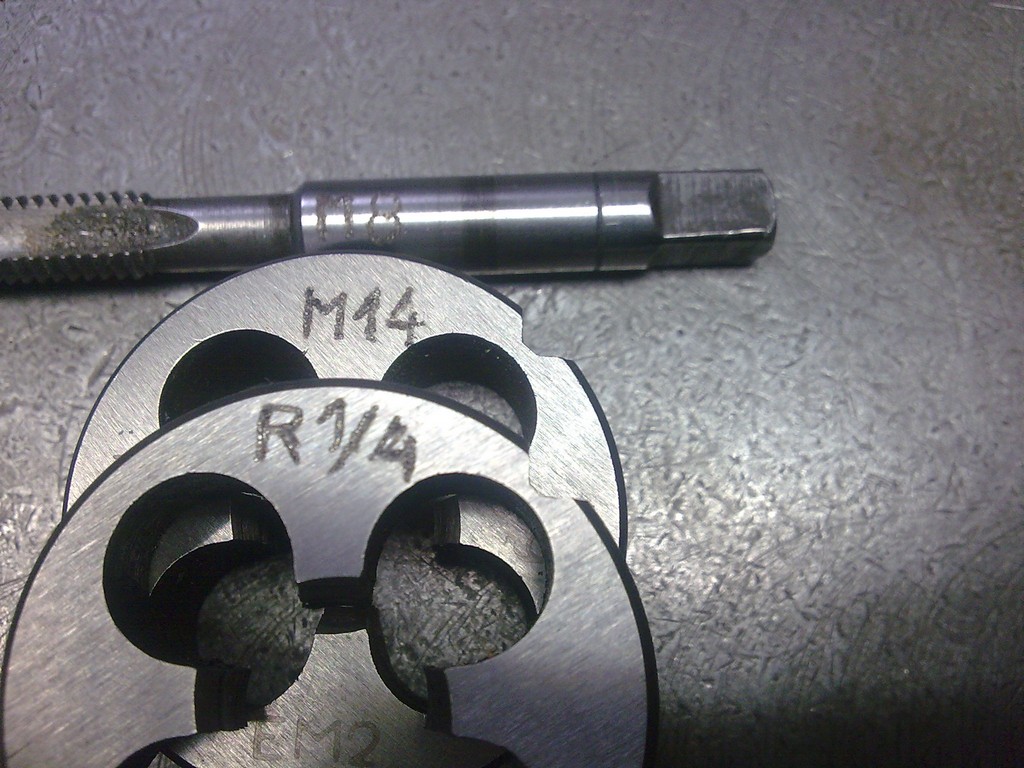
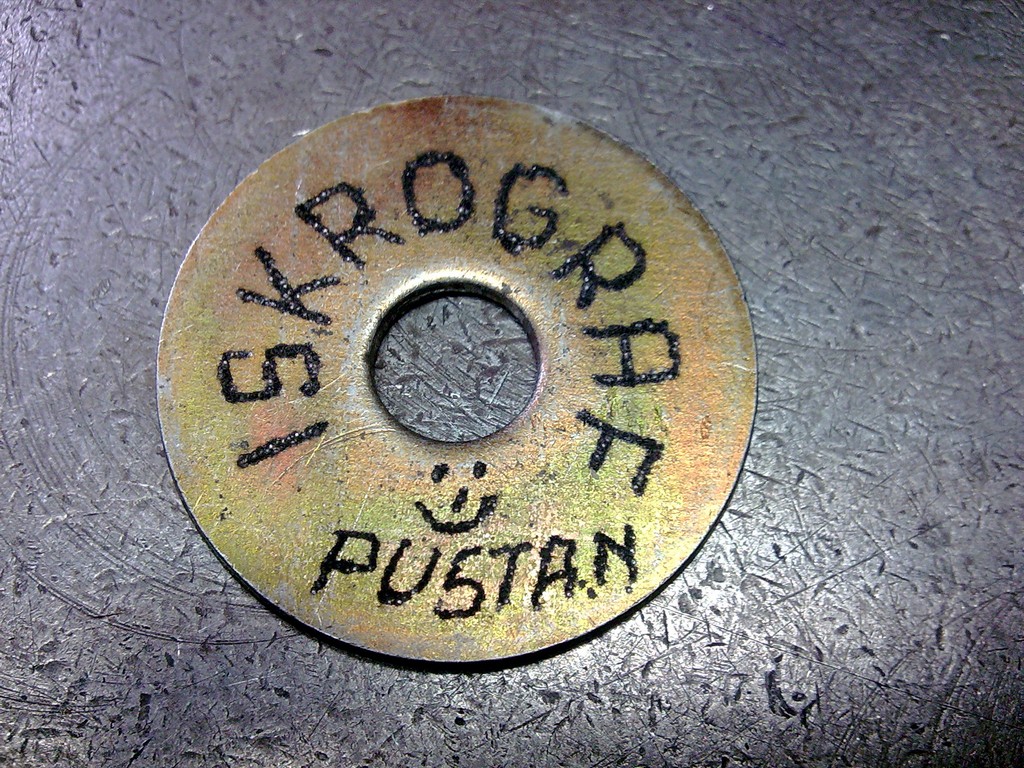
This construction of an electric engraving mark pen which may be useful for permanent marking tools for metalworking, because factory subtitles may fade over time and it is difficult to clearly identify their names after a longer period of time.
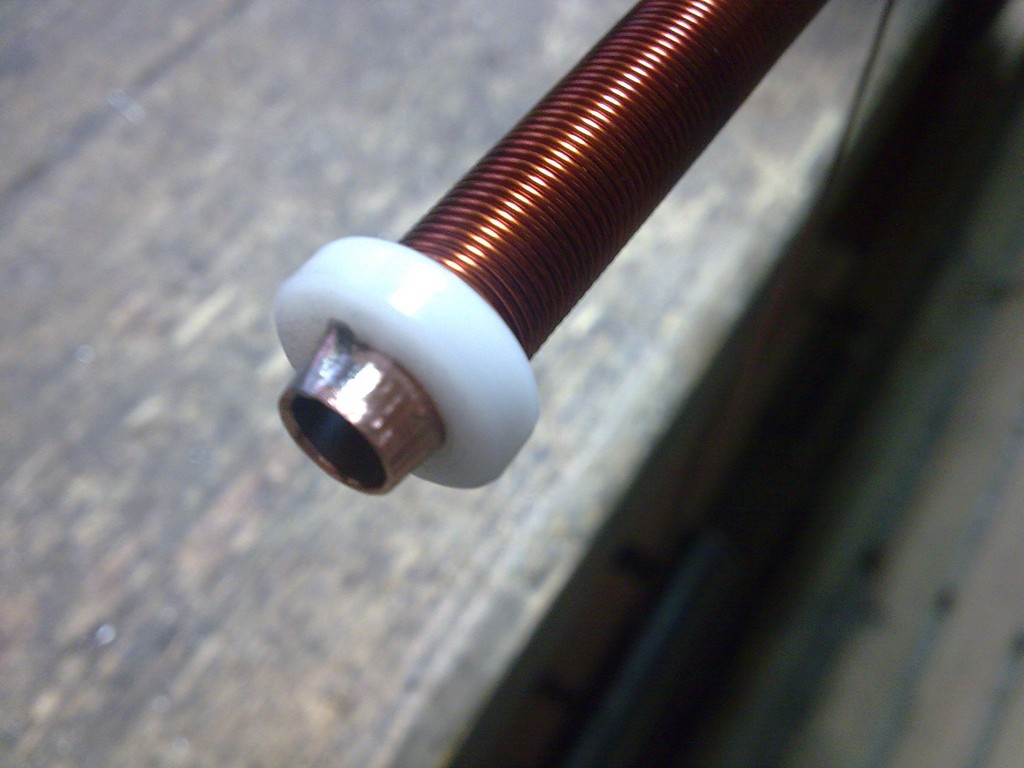
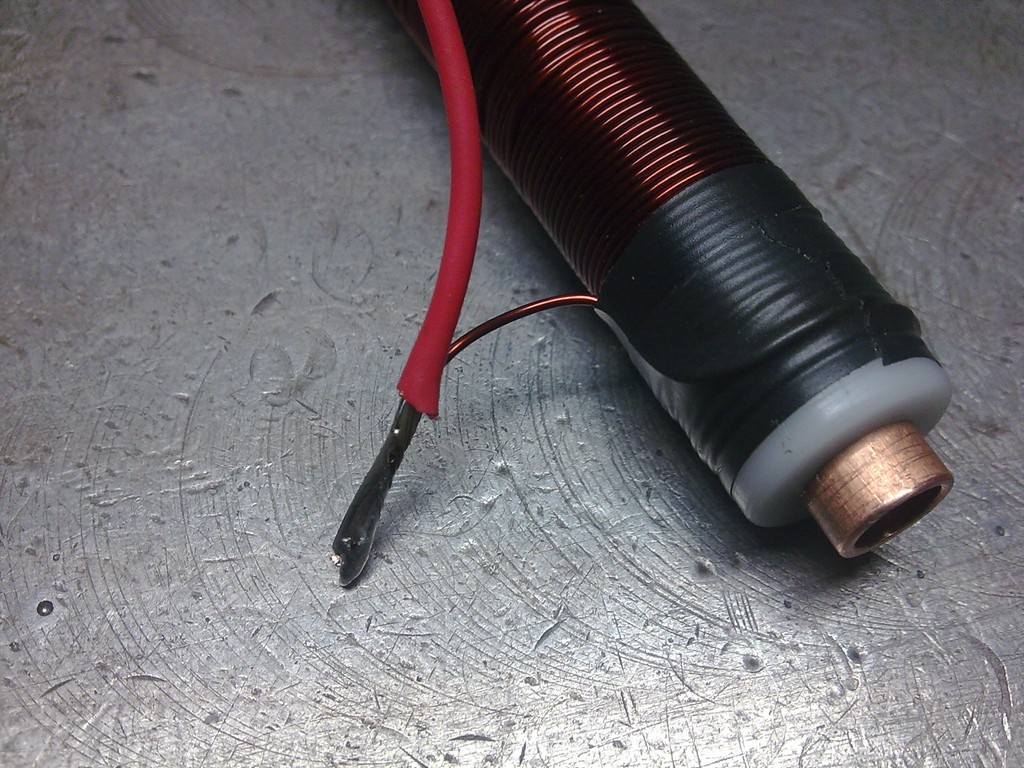
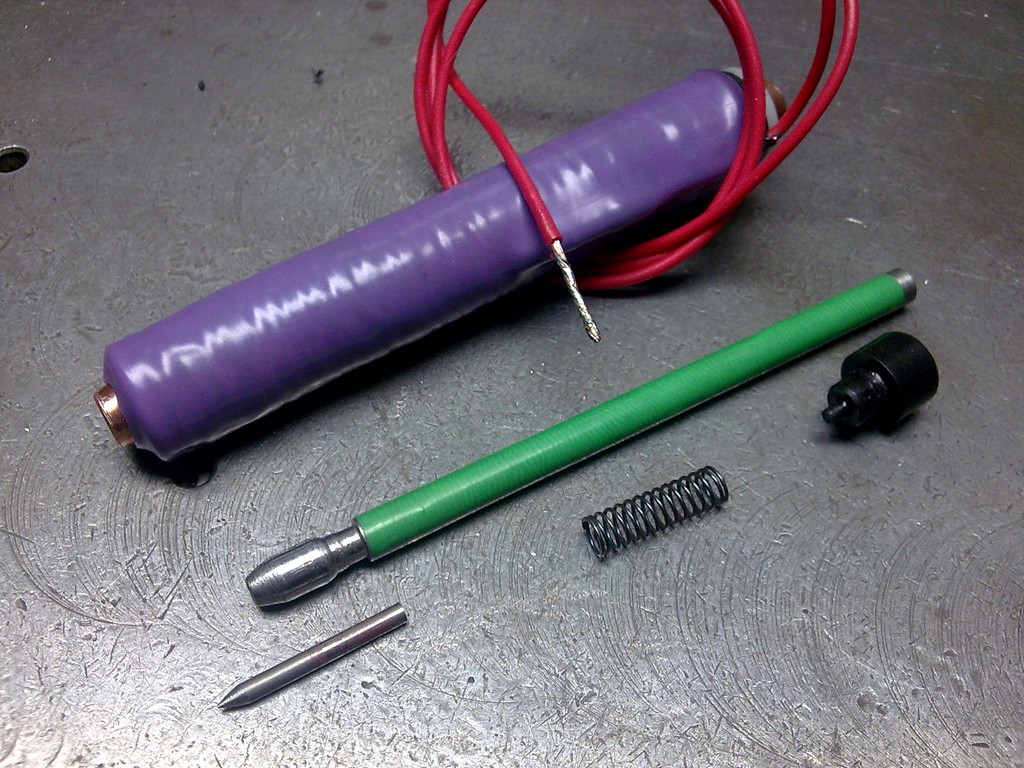
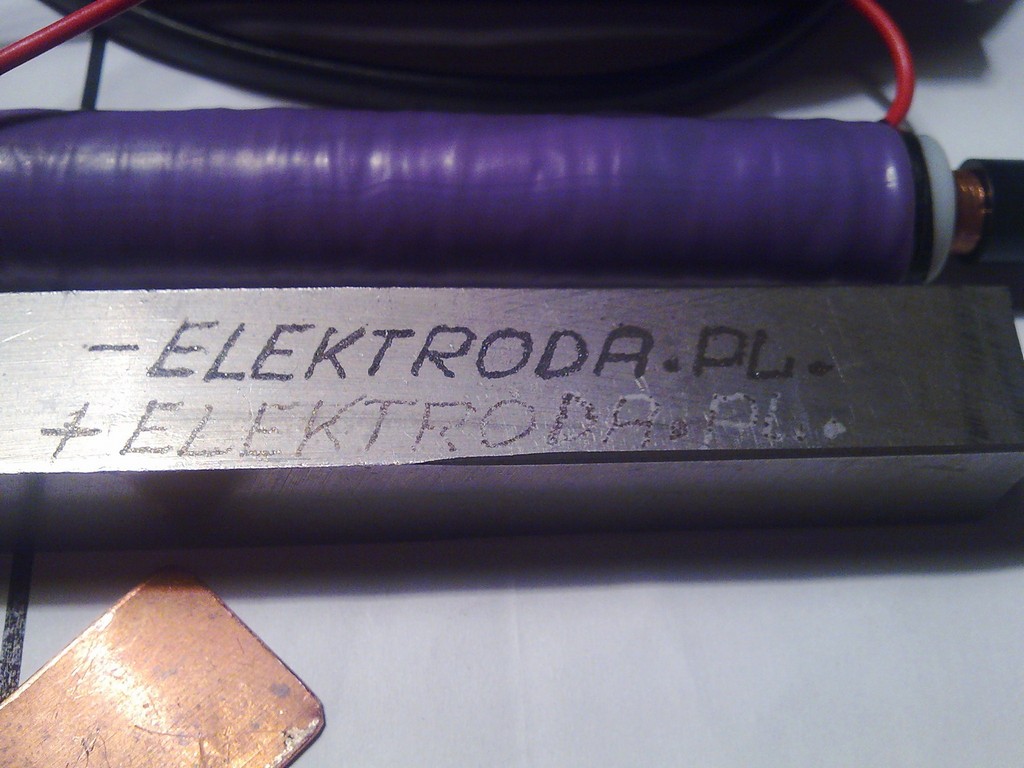
You can find similar devices on the Internet. The engraving mark pen uses a copper pipe with a length of 10cm and diameter of 8mm. After rectifying it was drilled using a reamer with a diameter of 6H7. There are two plastic flanges put on the pipe. On end of the winding was soldered to the end of the pipe. The winding consisted of copper wire in glaze with a diameter of 0,6mm. There are four layers of winding with a piece of cable, line soldered at the end. It was insulated using a tape and covered with therm-shrinkable layer. Core, spring and a bung were put inside. The core was made of a piece of steel rod with a diameter of 6mm with small content of carbon, commonly called an iron rod. It can be made of for example a nail. Front part where you insert the writing pin, was milled to about 5mm, and the part that works as the core, was milled to about 5,7mm. That part was covered with adhesive tape. The tip of the pen was made of a piece of wolfram electrode.


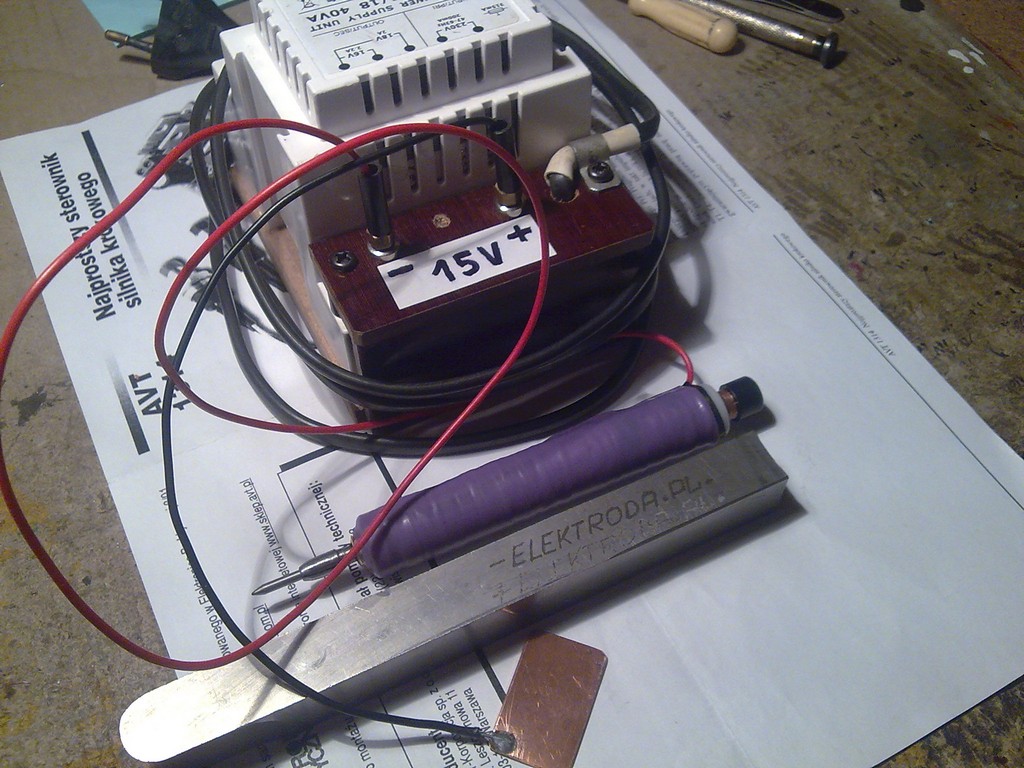
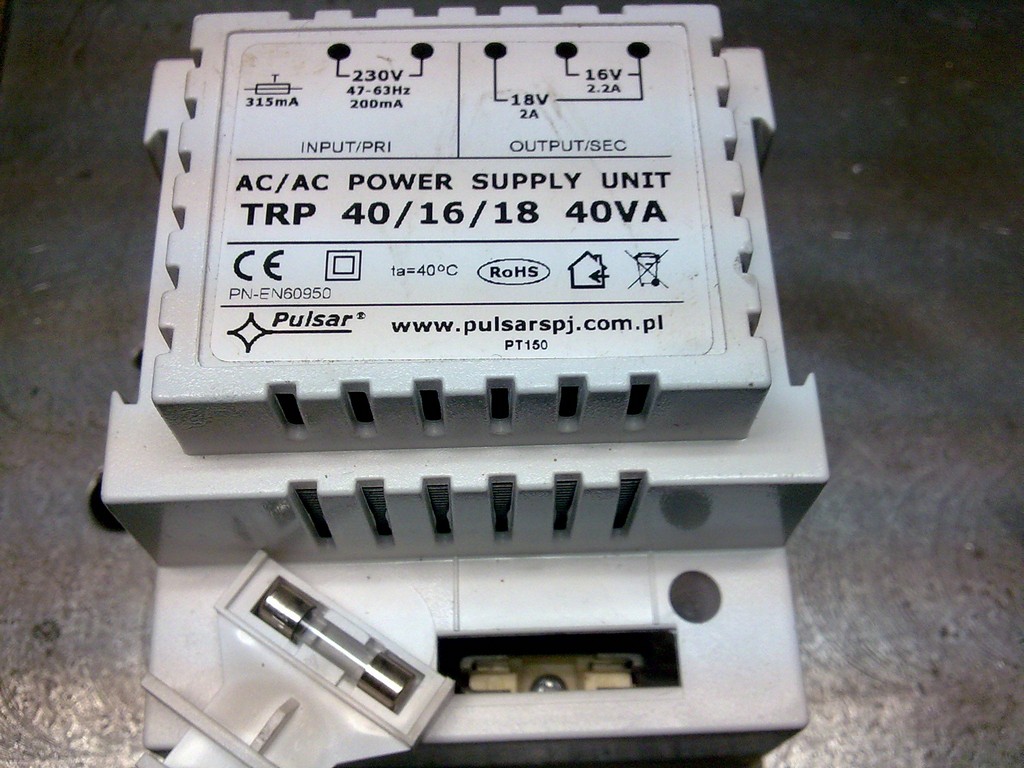
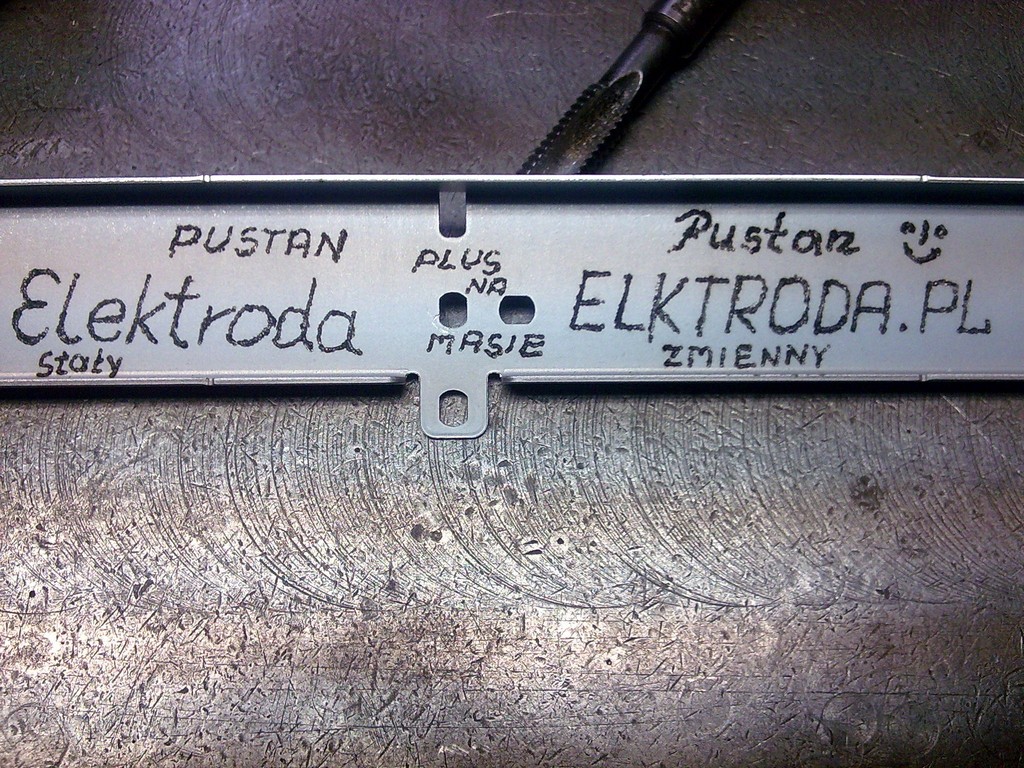
The design uses a transformer 16V, 2,2A. At a constant writing about 5 minutes, the winding is relatively hot. Tests with AC and DC voltage were carried out, and DC voltage is much better. Therefore, there is a bridge rectifier connected in the circuit.
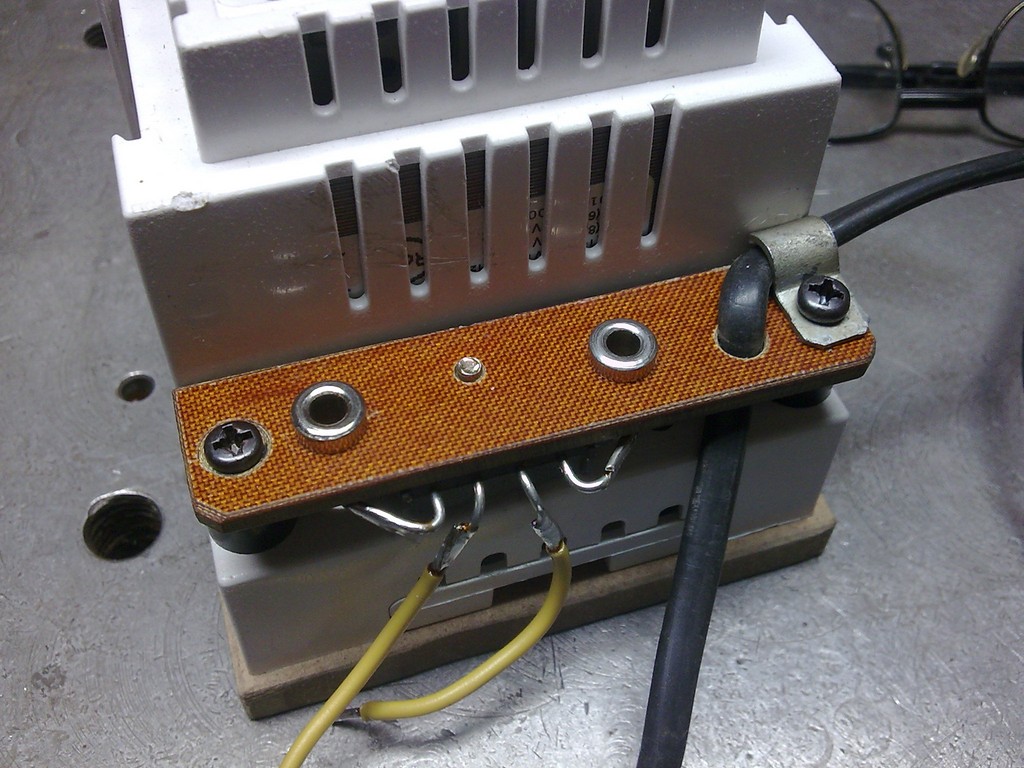
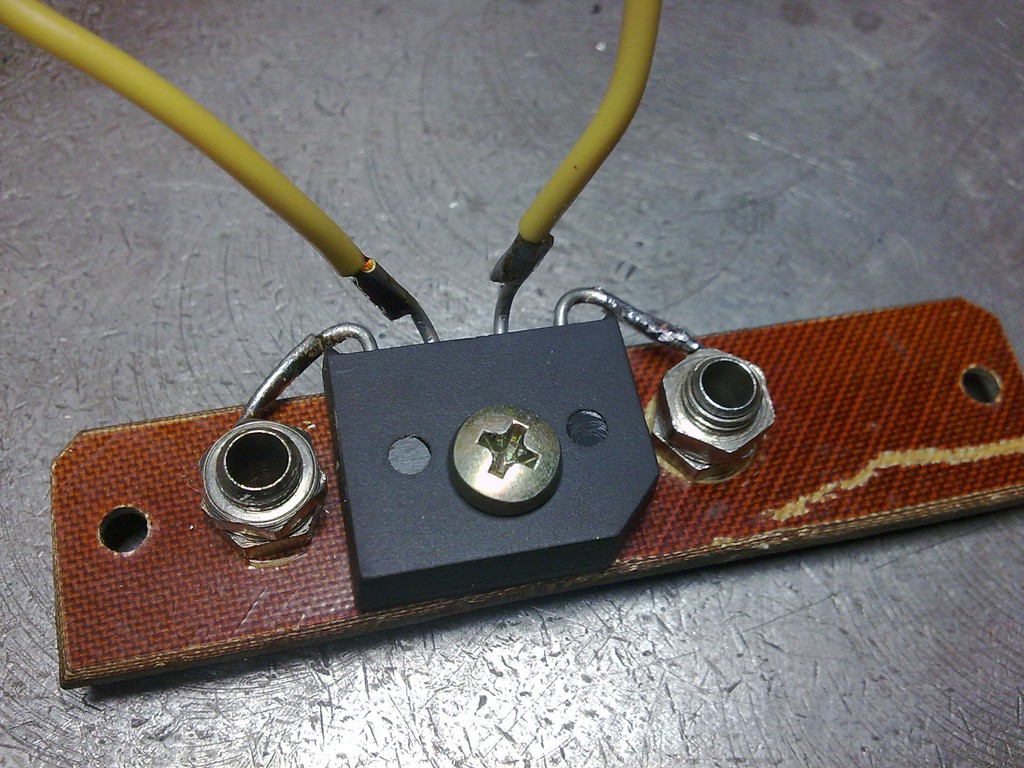
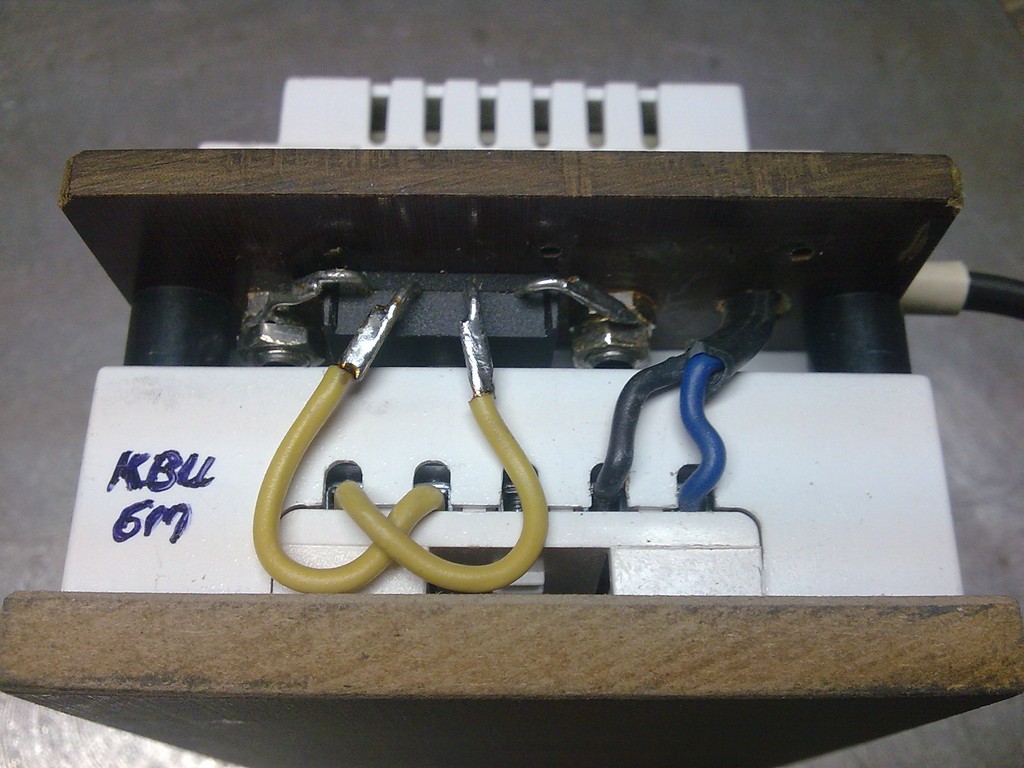
Two banana sockets were attached to the piece of textolite board. By changing the plus and minus plugs you can write in white or black color.
Although the device itself is very simple, note that the voltage involved in it is 230V.
Link to original thread - Pisak elektroiskrowy - iskrograf