Vermes
Advanced Member level 4
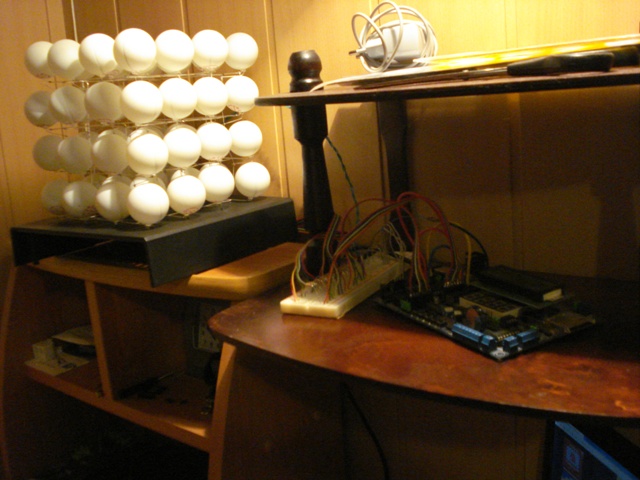
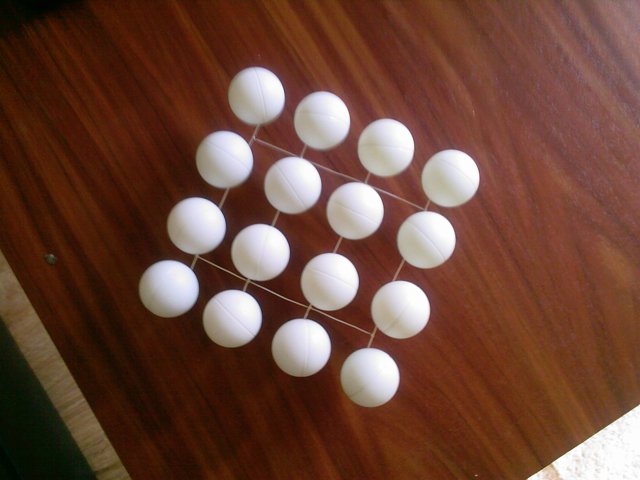
Construction:
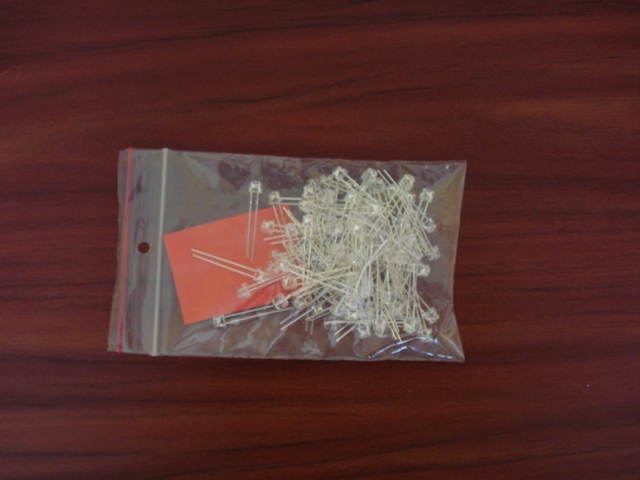
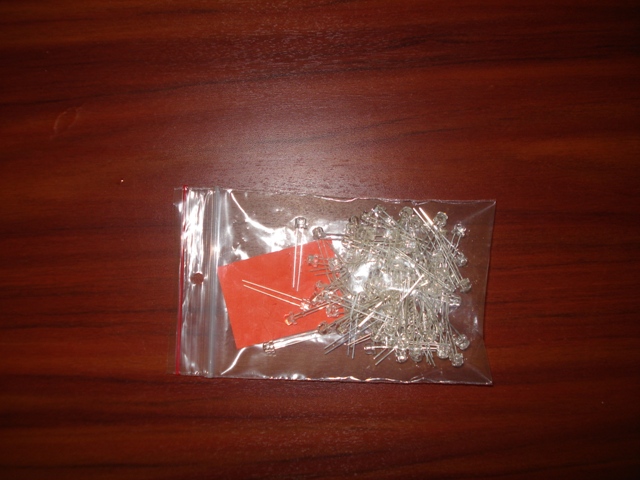
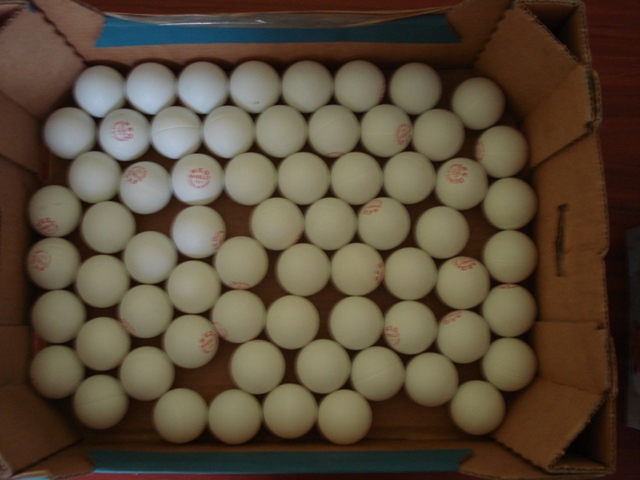
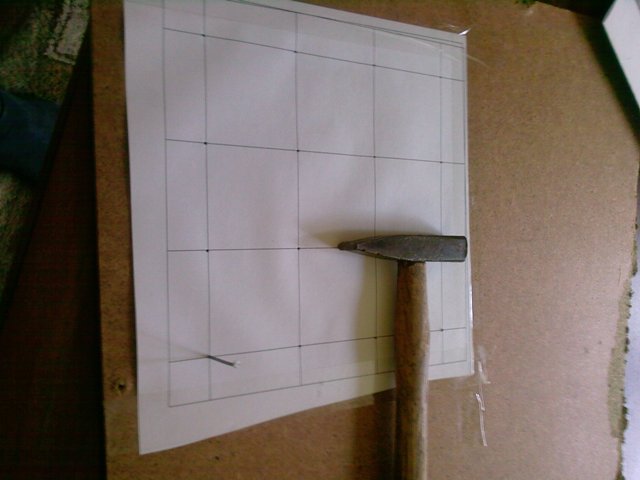
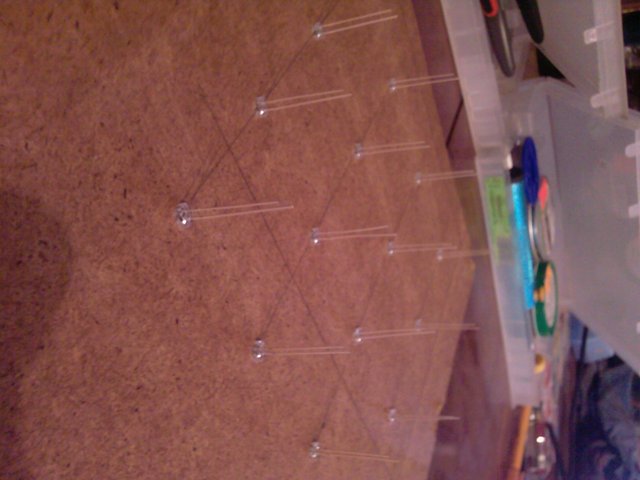
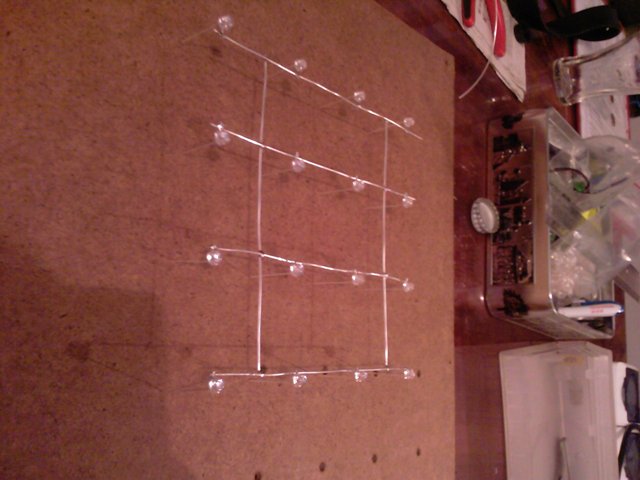
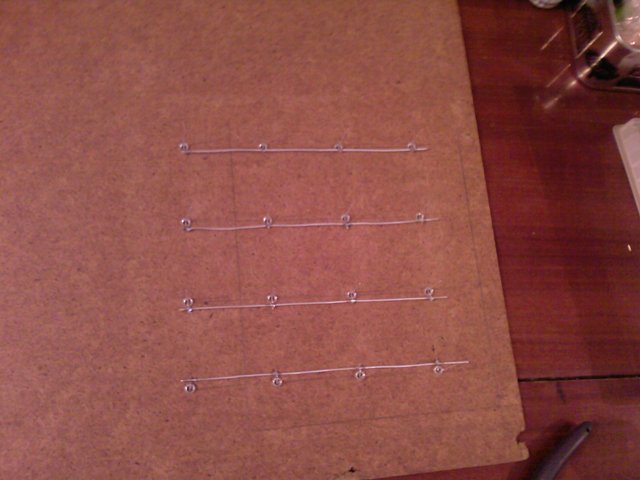
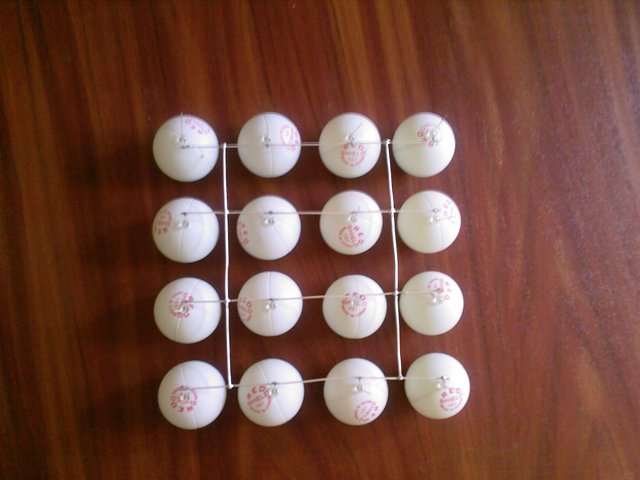
The cube has dimensions of 4x4x4, so you will need 64 diodes and ping-pong balls for the construction. It is not difficult to build a single layer skeleton, but connection of the acodes requires some precision and patience. To build a layer, prepare a stand for LEDs, for example a piece of a plank, top of a table etc. Then drill holes in the corresponding distances. In this case, LEDs occur each 50mm, but it turned out to be too little in practice. It is better to drill holes in distances equal to the diameter of a ball, which is 40mm (40mm x 2 = 80mm between each LED). Then put the LEDs into such prepared stand and connect the cathodes. In order to create four layers, you have to repeat that four times. Then solder two pieces of a wire, to each of the layer, on different sides, so you provide the right distance from the stand to each layer. Solder approximately 30cm long wire to each of the anode in the first layer and pull it to the top. Then you have the second layer, mount the distance, when the balls are taken off, solder anodes to the wires. Repeat it to the last layer. Then put cables from anodes (16) and cathodes to the driver.
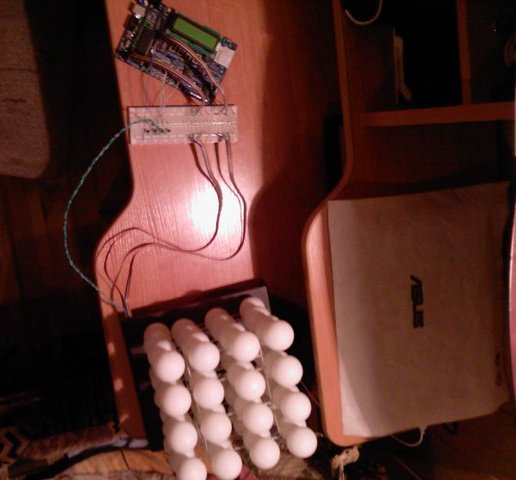
How it works:
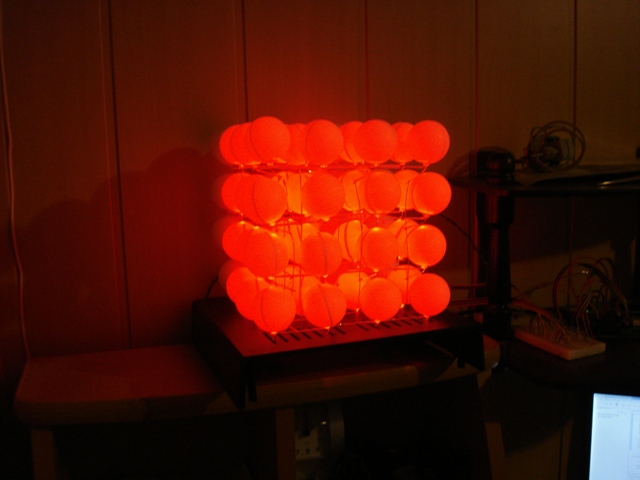
Atmega8 is enough to display some interesting effects in such a small cube. Two chosen 8-bits microcontroller ports control 16 anodes. Cathodes can be controlled from any pins of the port. The principle of operation is similar to the 7-segments display. Each layer is turned on periodically from time to time (refreshing 200Hz is enough), layers 0...1...2...3 are turned on in turns. You do not even need an external quartz, internal oscillator pulled up to 8MHz is sufficient for this purpose. Program was written in C.
Pictures:


Link to original thread - Ping-Pong Ball Led Cube