Continue to Site

Welcome to EDAboard.com

Welcome to our site! EDAboard.com is an international Electronics Discussion Forum focused on EDA software, circuits, schematics, books, theory, papers, asic, pld, 8051, DSP, Network, RF, Analog Design, PCB, Service Manuals... and a whole lot more! To participate you need to register. Registration is free. Click here to register now.

How to repair the broken traces on a rigid-flex circuit board

Rigid-flex circuit board is made of rigid circuit board and flex circuits which combines the rigidness of PCB and flexibility of the flex circuits. It is widely used in various electronics applications range from consumer electronics, medicals, aerospace and wearables. For those wide usage, may some designers or engineers had ever faced such a common difficult that traces be cut or broken accidentally when using or assembling. Herein, we summarized general steps to cut traces on a Rigid flex circuit board repair.

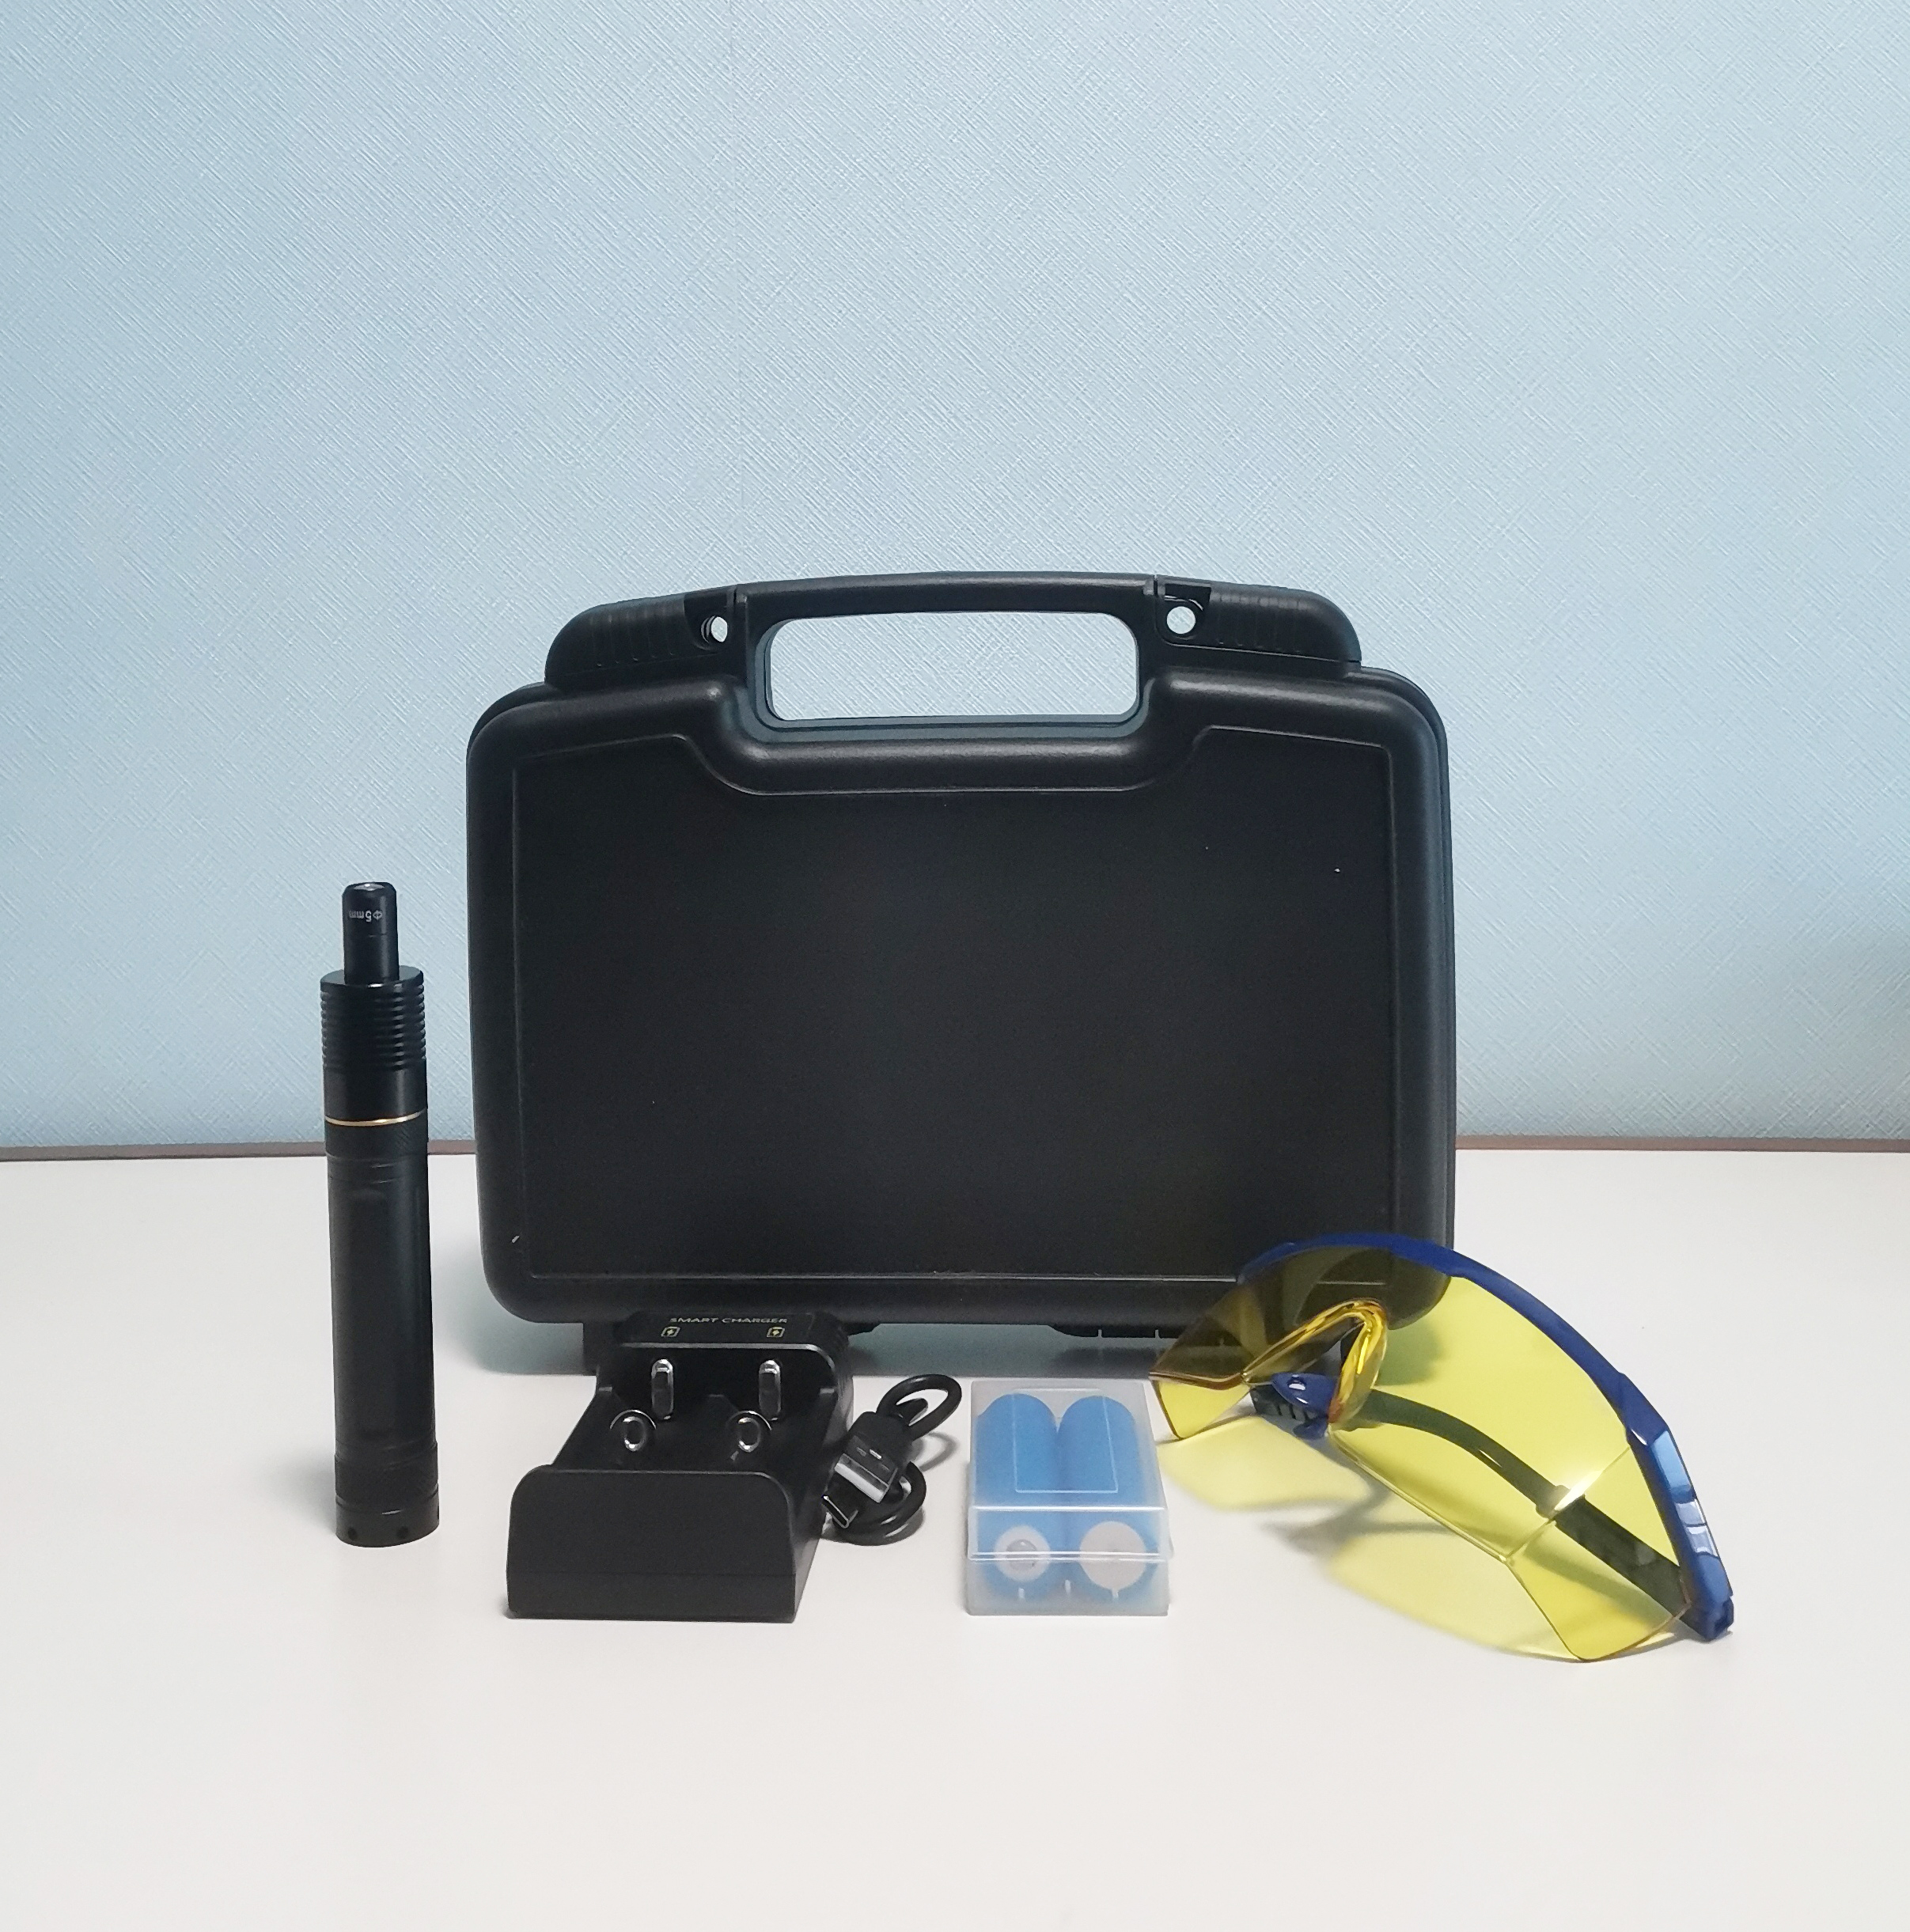
  1. Gather the necessary tools
To repair cut traces on a rigid-flex circuit board, you will need a soldering iron with a fine tip, soldering wire, a multimeter, a utility knife or scalpel, a masking tape (if the cut trace has a long length), and some thin copper foil.

  1. Identify the cut traces
Use a magnifying glass or microscope to carefully inspect the flex circuit board and identify the cut/broken traces. Cut traces can be identified as gaps or breaks in the copper trace on the board that are visible upon inspection.

  1. Clean surrounding area
Use a mild solvent, such as isopropyl alcohol, to clean the area around the cut traces to remove any debris, dirt, stains or residue. This will help ensure a clean and reliable repair.
Clean surrounding area


  1. Trim and expose the copper on cut trace
With a utility knife or scalpel to trim a bit of solder mask of the cut trace and expose the bare copper. Be careful not to remove copper as it may be broken. Take you time, this is a slowly process. Please be make sure to trim straight back the broken sides, this will help to next soldering process.

Trim and expose the copper on cut trace


  1. Prepare the copper foil
Cut a piece of thin copper foil that is slightly larger than the cut trace (the length is the key point that too long need to be cut secondary and too short will not enough to full cover the broken area, will result in open issue). The copper foil should have similar thickness and width as the original trace.

  1. Position the copper foil
Carefully place the copper foil over the cut trace, aligning it as closely as possible with the original trace.

  1. Solder the copper foil
Use the soldering iron with a fine tip to apply heat to the copper foil and the cut trace. First, pour a little flux on the repairing area, then apply a small amount of soldering wire to the heated area, allowing it to melt and flow, effectively soldering the copper foil to the cut trace. Be careful not to apply too much heat or pressure, as this can damage the flex circuit board.

Solder the copper foil


  1. Test the repair
Use a multimeter to test the continuity of the repaired trace to ensure that it is properly connected. If the repair is successful, the multimeter should show a low resistance reading, indicating that the trace is now conductive.

  1. Inspect and trim the repair
Once the repair is complete, carefully inspect the area to ensure that the solder joint is clean and there are no shorts or bridges. If necessary, use a utility knife or scalpel to trim any excess copper foil or solder that may interfere with the normal operation of the circuit.

  1. Test the circuit
After trimming and inspecting the repair, test the flex circuit board to ensure that it is functioning properly. Connect the board to the appropriate circuit or system and perform functional testing to verify that the repair has restored normal functionality. Please note that repairing rigid flex circuit boards requires advanced soldering skills and experience in working with delicate electronics. If you are not familiar with these techniques, it is recommended to seek assistance from a qualified technician or professional electronic repair service. Additionally, it is always best to find a reliable manufacturer who can produce the circuit board for you and provide repair service as well.

Please note that the use of images and links should comply with ethical and legal standards, and should provide value and a good user experience to the audience. It is also important to follow the rules and policies of the forum or website to avoid being banned or penalized.
 
Last edited by a moderator:
Thanks. Rigid-flex PCBS are very expensive and it's a great loss to have their traces broken. This whole write-up will help many people no doubt.
 
Our curing pen uses an optical lens with a wavelength of 365nm/385nm/395nm/405nm and a spot size of 10mm for testing.The test result is 3190mw/cm2. It can quickly complete the curing of motherboard repair glue.
GB81Ri3a0AAeahT
GB81Ri4a0AATHLn
 

LaTeX Commands Quick-Menu:

Part and Inventory Search

Welcome to EDABoard.com

Sponsor

Back
Top