Continue to Site

Welcome to EDAboard.com

Welcome to our site! EDAboard.com is an international Electronics Discussion Forum focused on EDA software, circuits, schematics, books, theory, papers, asic, pld, 8051, DSP, Network, RF, Analog Design, PCB, Service Manuals... and a whole lot more! To participate you need to register. Registration is free. Click here to register now.

How can i make a PCB at home ?????

Status
Not open for further replies.
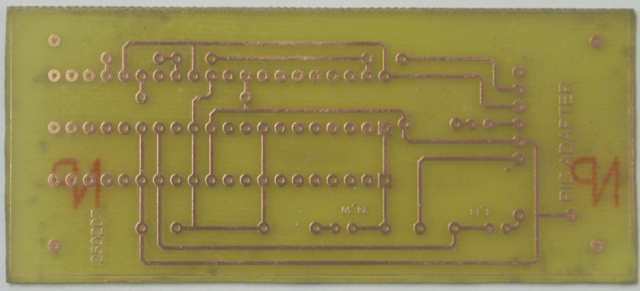
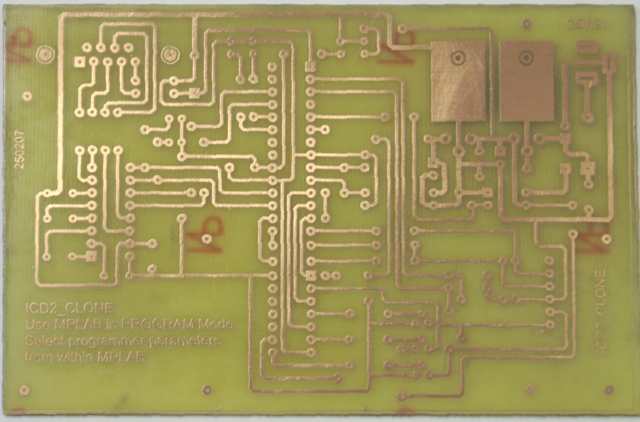
pcb photo transfer press and peal

This has been an interesting thread to read, but I STILL maintain that the photo technique using Positiv 20 has been the best method for me. I always get consistent results, with excellent track definition.

Exposure seems to be the major criterion, with developer strength running a close second. Once these two issues have been resolved, the results are excellent.

I would not consider trying any other method.
 

positiv20 square inches

Azaruk,
Though the photo method does seem like it would leave better traces, there were two things that deferred me from it.
Cost and Time.

The laser printer method, is very quick for smaller boards.
It's just print(1 min),prep board(2min),iron(3-5min),clean(2min), and etch(5min).
Acetone will take off the toner in about 1 second, and you're done.
That means at maximum it should only take about 20 minutes.

As far as cost, I found a laser printer with a broken roller (only feeds one sheet at a time.. which was perfect for this situation) for $10.
If you can't find a printer though, you can use almost any business/library copy machine for about 10 cents.
I got the chemicals for about $9, and the paper was I think $3 for 50 sheets?
so total was ~$25

From what I've read the photo method is much more cumbersome?
 

etching pcb electrolysis

I think this whole issue is one of personal preference. The time taken to produce a quality PCB is not too mucah of a problem when you consider that many hours are often spent designing a really cool PCB from scratch!


My timings:-
(Assuming all chemicals are pre-mixed and the board is cut to size)
Clean PCB - 1 min
Coat with Positiv 20 - seconds
Drying time (barely warm fan-oven for about 5 to 10 minutes)
Expose to UV (this depends greatly on the type of glass used to sndwich the transparency to the sensitised board, and the strength and wavelength of the UV light) I use 10 minutes. (Determined through trial and error - works for me)
Develop 1 minute
Wash - seconds
Etch - variable depending on temperature and age of etchant.
Comparing your timing and mine, there's not much to choose between the two methods.

I have never tried the laser printer method, so cannot comment. It intrigues me though, so maybe I'll give it a go, even if it means deviating from a method that I am very comfortable with.

Thanks for the response. As I said - an interesting discussion.
 

can a epson ink can make a pcb easily

It seems like there is about the same amount of work involved in both methods, which is good.
I don't think I'll be switching over though, I mostly chose the laser printer method for cost reasons.

Thank you for sharing that method, it is nice to be able to compare side-by-side.
Do you have cost information as well? That would be interesting to compare.

Spork
 

normal printer paper pcb

With our currency exchange rates, which are horrific, making PCB's here is a very expensive pastime.

I'll convert our local prices to USD and post them here over the weekend.

I doubt there will be much difference in the two methods though, as ALL imported material is expensive = Positiv20 and photo-paper, laser printers, and pcb laminate.

It will be an interesting exercise though.

I've included an image of one of my boards.


Added after 2 minutes:


diy pcb electroplating

Yeah, exchange rates are like 2:1, it's terrible. I thought it was expensive here =/ considering there is not a very high demand for the material. Oh well.


You would probably have better luck borrowing a laser printer (just use one at an office building) or like I did, find one that only feeds 1 sheet.

I will take a picture of a board tomorrow, I am off to sleep now.

Spork
 

how to prepare pcb in home

If your exchange rates are 2:1 you're doing fine.

We have 8:1 for USD and 14:1 for British Pound!!!

So ......... VERY expensive! After import duites and seller's markups, we have to be very sure that our PCB (and the actual design) are 1005 perfect before spending large amounts of money!
 

translucent paper inkjet pcb

If somebody has experiece in modifying a hp or cannon inkjet printer, please let us know. I have an old HP656C printer and I will try to modify it though it seems quite hard, I think i will move the control board, to get some space for the board guidance.
I think the printer method is very precise and in the long term the investment is easy recuperable. I not like the photo method becuse it uses NaOH which is quite hazardous. The printer method is faster.
 

mispro pcb laminator

Wow, what currency? I'm using USD, but vs GBP its ~ 1.95:1, and I thought that was pretty bad (worst it has been in a long time). Also about the same vs the euro.


Eugen_E: As for the NaOH developer solution,
When I mix the HCl and H2O2 (for etching solution) and get chlorine gas... which is not the best thing for you to breathe. So NaOH isn't much to worry about.
Just make sure you take saftey precautions.

The printer method being faster, on the other hand, I completely agree.
The inkjet method is even faster than the laser, unless of course you have an extra fuser.
 

pcb drawing stickers

I have created many pcb's with near perfect results using the toner transfer method with a clothes iron, cheap glossy photo paper, and a laser printer.

The trick is to find paper with a water soluable coating on the glossy side. Some of the expensive paper I tried didn't have the coating and the paper wouldn't disolve completely.

With the right paper, it should take less than 15 minutes of soaking before it will peel right off.
 

home laminator pcb

here's one for you .. "Modified ink printer churns out electronic circuits"

teaser --> "A desktop printer loaded with a silver salt solution and vitamin C has been used to produce electronic circuits."

h**p://www.newscientisttech.com/article/dn11632-modified-ink-printer-churns-out-electronic-circuits.html

all the posts here are really useful. tutorial video would be great, or very detailed step by step plus material list and where to buy online.

in fact, why don't you just come over to my shop and do it for me :p

Mr.Cool
 

pcb milling diy

rchinthaka said:
hi there!!

i can help you on this matter, i have used very simple method to make PCB at home you just need only few tools, i hope you can do the PCB drawing by using a software. after completing the drawing just take a laser black and white print out for a transparent sheet, then you can past the drawing to the copper board by using a cloth iron, just put the drawing on the copper board, and iron it at silk level of temperature, you have to do it until the ink of the print out melt and past on the copper board. now u can remove the transparent sheet, you can see the drawing on the copper board, now u can wash the copper board using avilable chemical known as "Feric cloride" , but there could be cracks in copper paths if the drawing is not pasted on the board properly, so u can use very think pen to redraw on the paths before wash it, the pen is known as "permanant Marker ", it is easy tuff!!

try it!! i m doing commercial applications using this methord!! but the PCB is shows very handy way!!

Well, this method never worked for me. I tried many times with no success at all. Very tricky method to get *all* the ink transferred properly. I went back to my own method using presensitized boards.

Added after 13 minutes:

ahmad_abdulghany said:
I found a very accurate, easy and low cost method to make a pcb using GLOSSY papers!

I tried it and obtained amazing results! Try it too..

Find details here:
**broken link removed**

Yeah, this method looks very good. The only thing I would change is the thinner/laquer remover to remove the toner. This stuff stinks. Use Methanol (CH3OH) instead. Removes anything very clean without oily residues. I have been using it for decades.

Added after 1 minutes:

Mr.Cool said:
in fact, why don't you just come over to my shop and do it for me :p

Mr.Cool

Hmm, not cool Mr. Cool!

Added after 4 minutes:

FoxyRick said:
I don't use this method myself as I do transparencies, but this is what I have read. The glossy method may be as good.

FoxyRick.

I use transparencies also. I get 'sharp-as-a-whistle' results. And I have been using Amonium Persulphate for decades at 40 ° celcius. I get professional results.
 
Last edited by a moderator:

how cani make homemade soldering iron

you can build this PCB drilling machine. shows all steps. let us know if you have any luck with it!

T.Muller “PCB Drilling Machine"
Elector | 2001 | ISBN: N/A | 32 pages | PDF | 2,5 MB
 

pcb offcuts uk

Has anyone had a go at printing direct to pcb with an Epson RX685. It has a mechanical unit which is raised up along with the paper feeders (by motor drive) to accomodate the CD/DVD printing tray similar to VMSVDD's Epson. It also looks like it could accept paper or the pcb from the rear of the unit elliminating any problems with feeding at angles.

If needed I can take some pictures and post them up.

Please let me know if anyone thinks this is possible or has had a go at this. I found the info posted by VMSVDD interesting although difficult to follow.

Many thanks,

Dan
 

printing pcb with hp 1550

There is yet another tutorial on home PCB making at:

http://www.atv-projects.com/Making_PCBs.html

There is another project in the pipeline for a PCB tank agitator which gently rocks the developing tank from side to side to keep the chemicals in motion.

Brian.
 

Status
Not open for further replies.

Part and Inventory Search

Welcome to EDABoard.com

Sponsor

Back
Top