Vermes
Advanced Member level 4
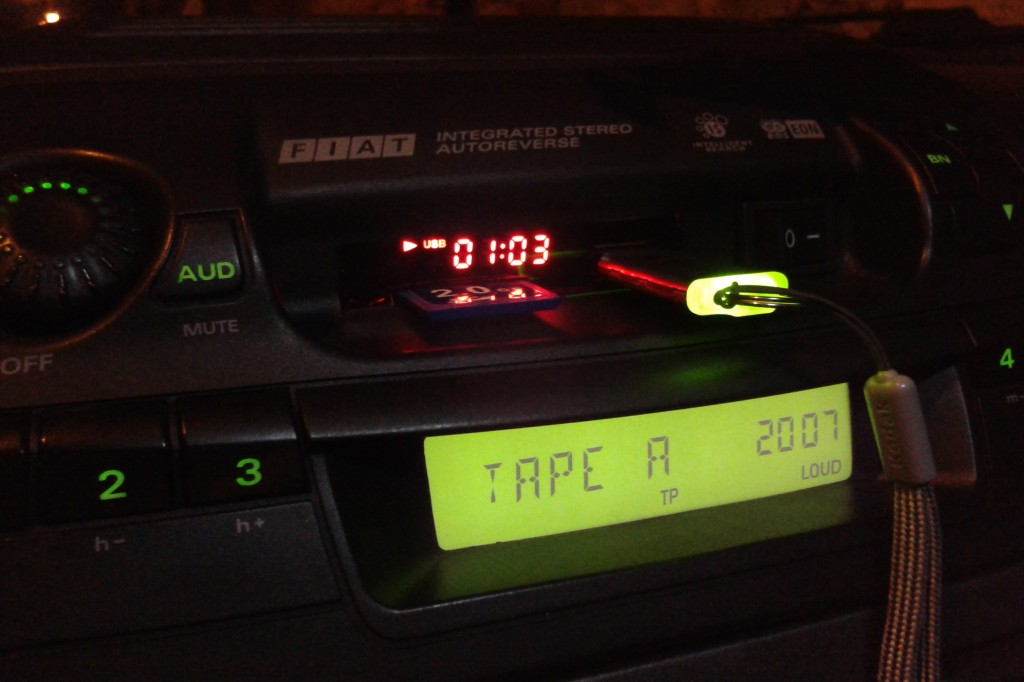
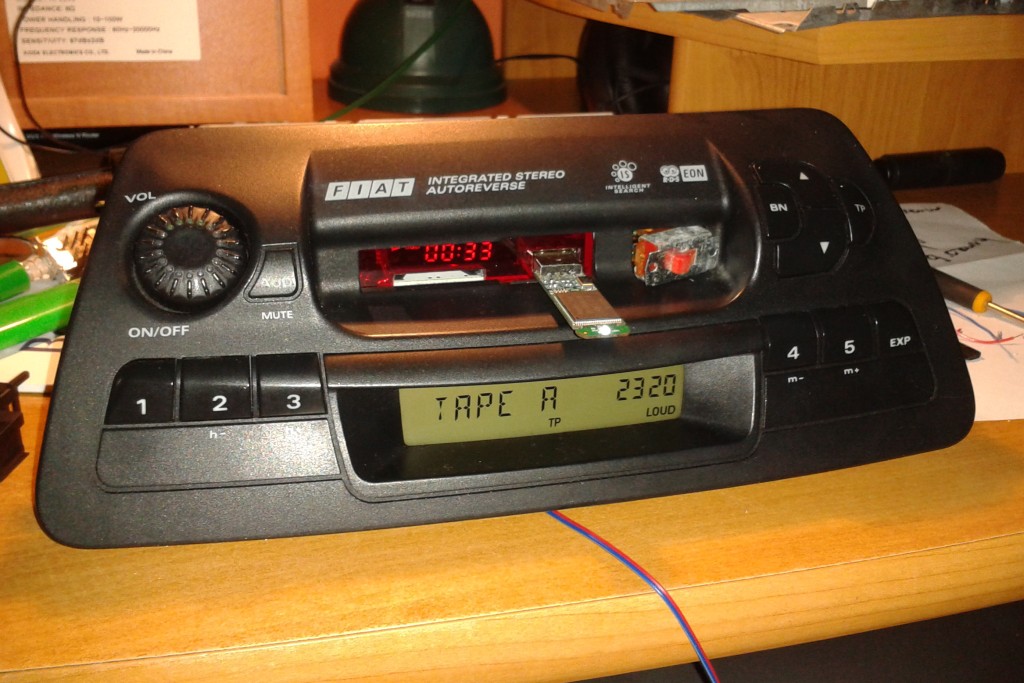
It is a modification of factory radio Grunding AD182M. It consists of inserting a module that plays MP3 into the radio. Display and card/pendrive input are in the place where a cassette was inserted once.

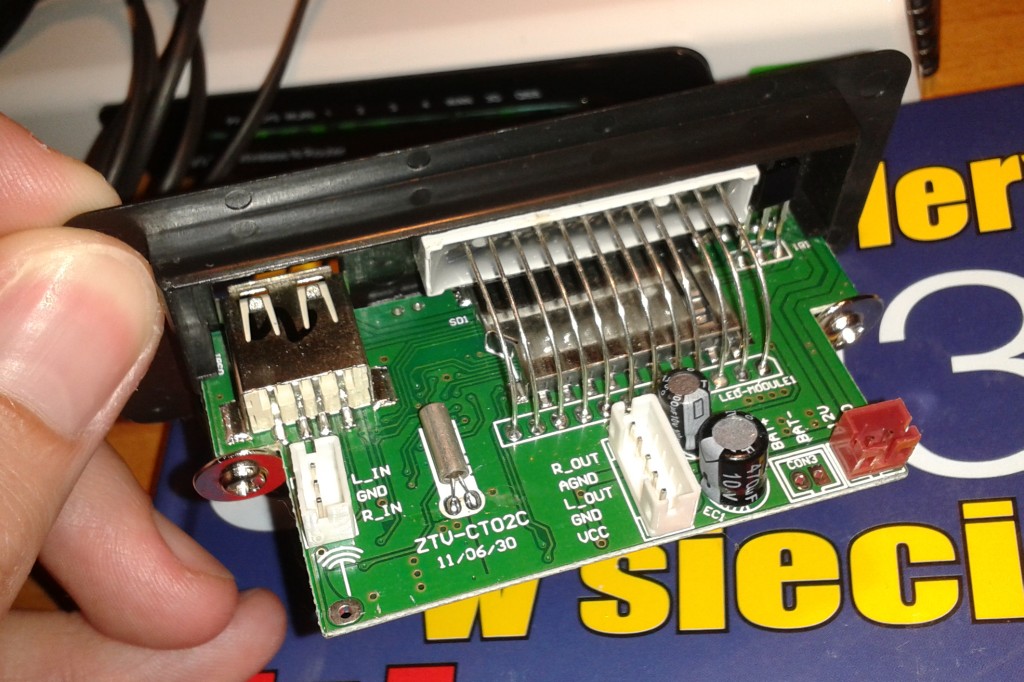
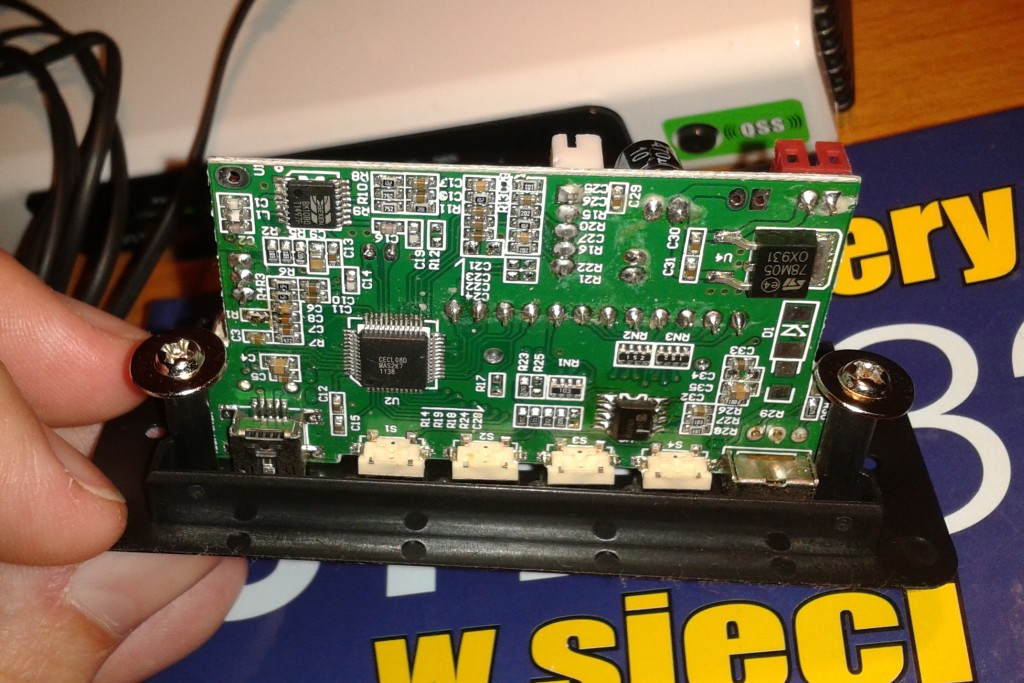
The circuit is powered from 12V (uses a stabilizer 5V placed on the board). It plays files from SD cards, pendrives. It is equipped with radio tuner (which is not used in this case), linear input and output for the preamplifier. The module can be controlled using buttons or attached mini IR remote control.
In order to make an aesthetic construction, there were no buttons in the radio housing. The device uses only the holes for the cassette and buttons for auto reverse handling. This module can be handled only using the remote control.
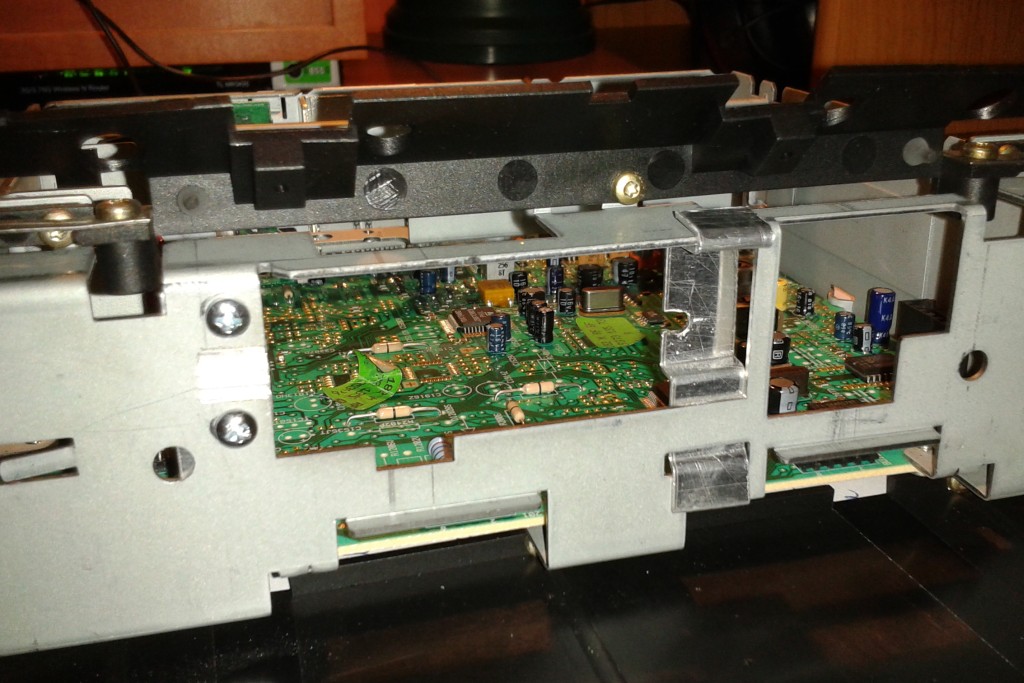
To modify the radio, you have to remove the cassette mechanism firstly. To make it properly, start with examining the operation of your radio and learn to turn on the cassette mode. In described here radio, it is impossible to switch to tuner when the cassette is still inside, so that you have to emule its insertion and behavior of the drive. For radio AD182, it is necessary to simulate three switches so that the radio detects a cassette inside and A side is played, and the head of the radio is down. In practice, it is the short circuit of two cables for constant, then shorting them with one cable in parallel with another pair. For this reason, a 2-pole rocker switch was used.
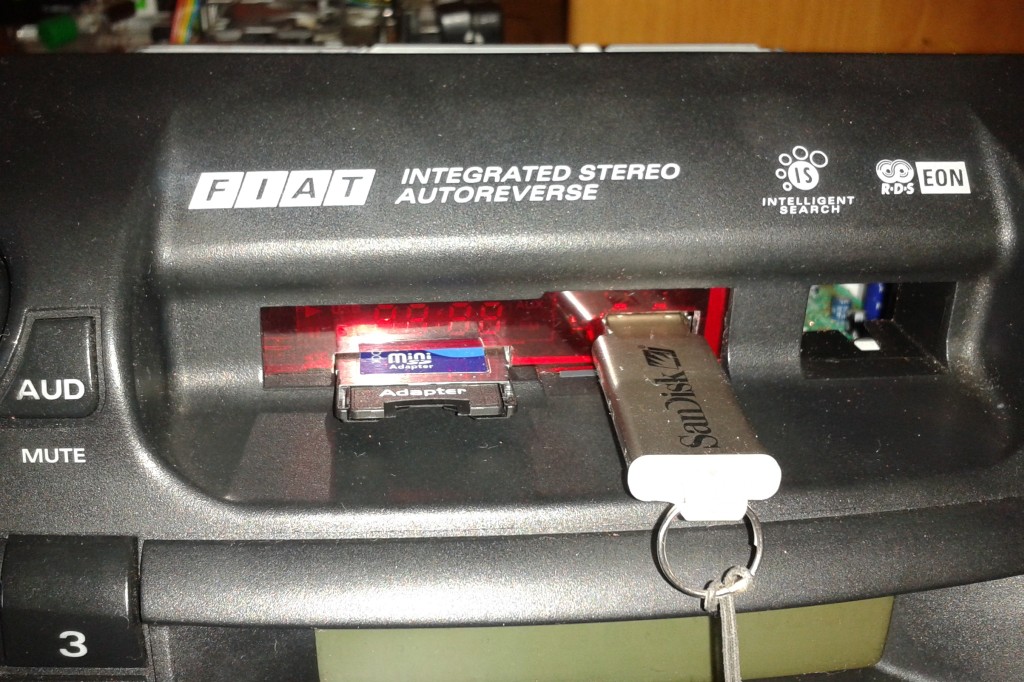
Next, you can modify the front. After removing the cassette flap, a filter for display with holes for the USB connector and SD card was made of red plexiglass. It would be better to use a grey smoky filter because the red one spoils the color of the entire radio in the sunlight. The red plexiglass looks far better when its dark. The filter fits closely and additionally it is stuck using glue Distal.
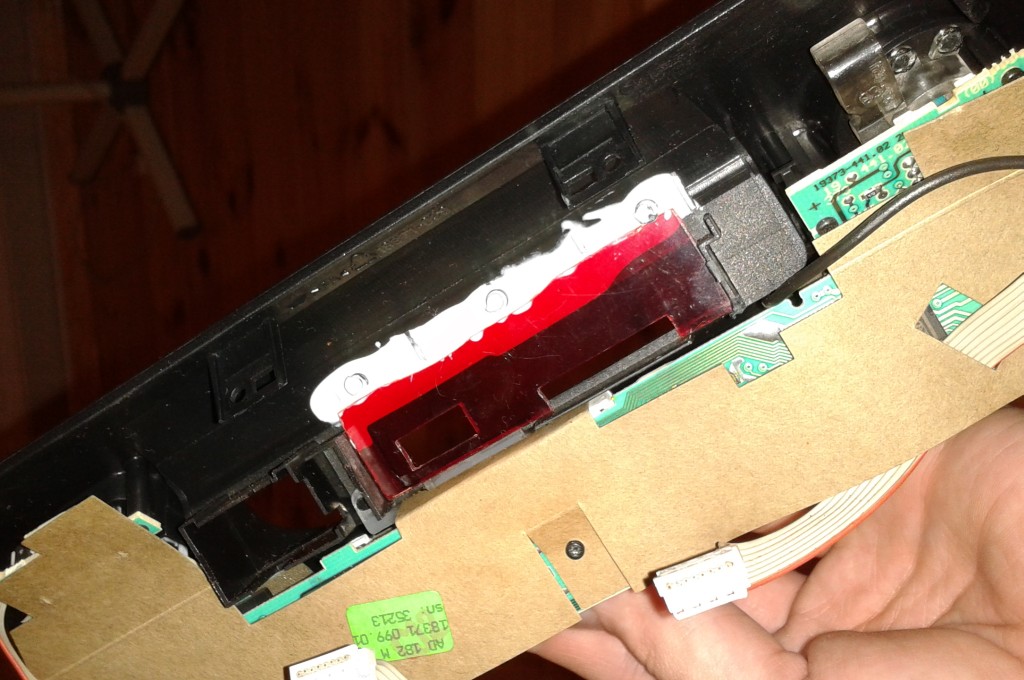
In order to fit the MP3 module, you have to expand the cassette hole in metal frame of radio. Then, using aluminum plate and screws M3, you can make a fastening for the plate of MP3 module.
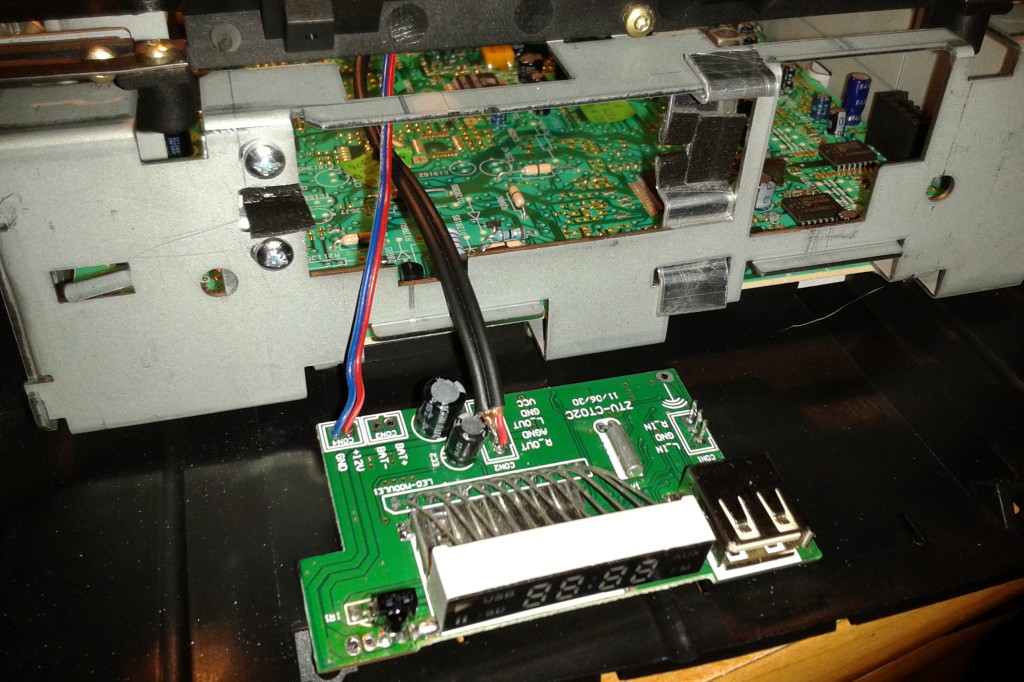
The module has no assembly holes, so that the presented method is the only method of assembly. A non-conductive foam tape 2-sided adhesive was placed between the additional plates and the board. It was done just in case to insulate the board and limit possible vibrations or other sounds in rigid housing.

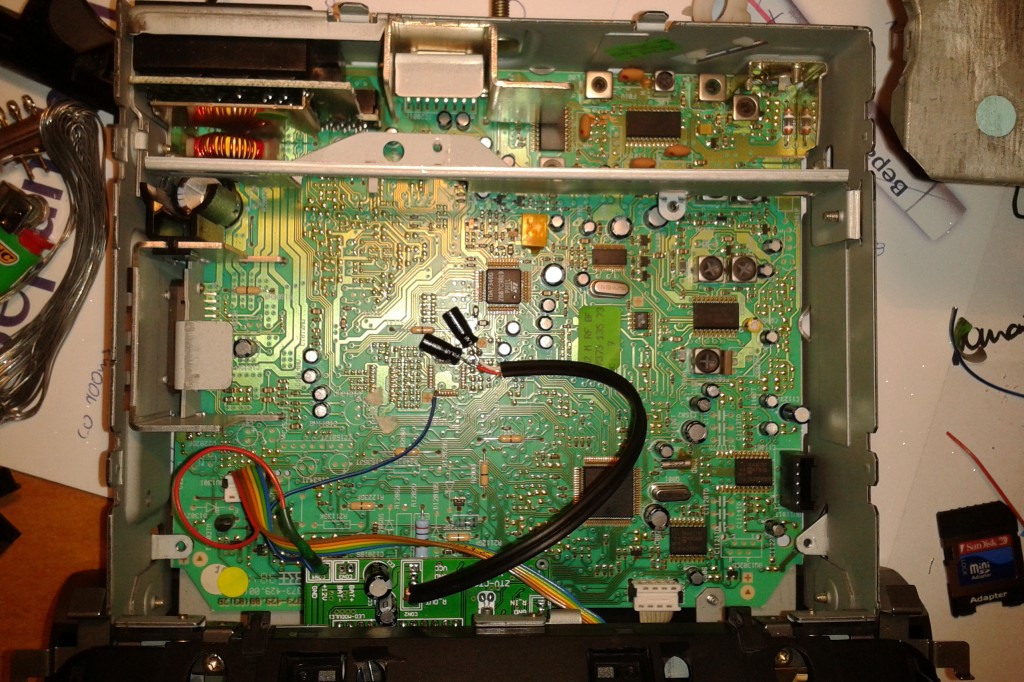
When all that is done, you can start connecting the electronics. Module power was connected normally instead of cassette drive motor. After simulation of its presence in the radio, the module is turned on.
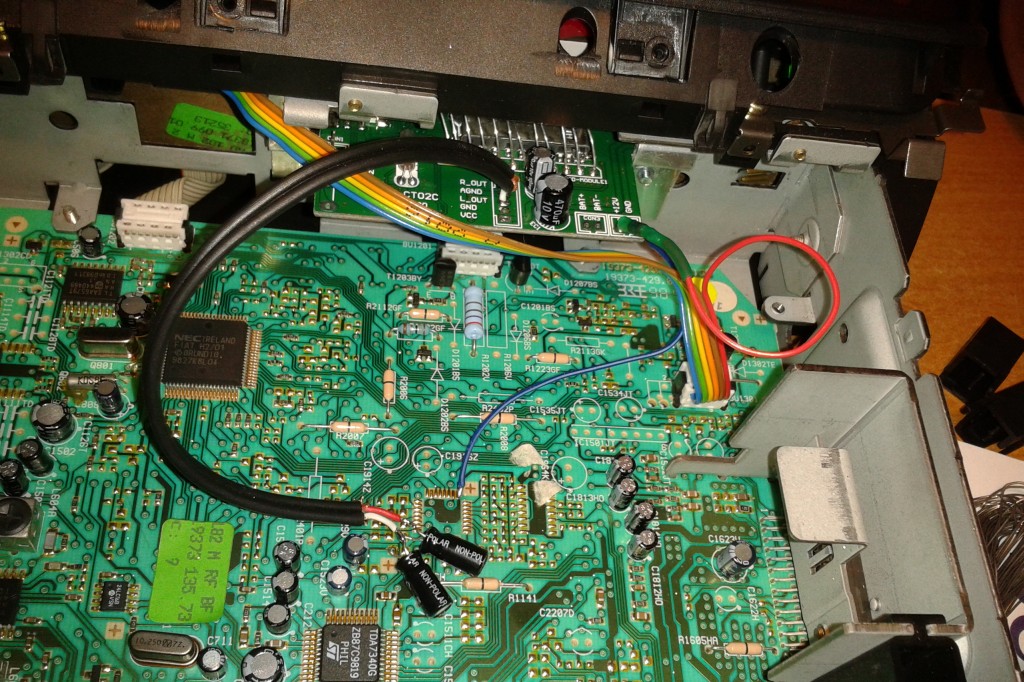
Another thing to do is to connect audio signal. In order to do that, you should use a shielded cable. AGND was connected only on one side, to prevent from ground coupling. The radio is based on preamplifier TDA7340. Its catalog sheet says that the signal from the cassette enters the 35 and 36 pin. When you find the proper pins, they should be cut off from the circuits that adapt them for the head and through electrolytic capacitors 1uF they should be connected with the signal of module. The whole was covered with a hot glue to reinforce it.

Video of operation:
Link to original thread - Grundig AD182M - zamiast kaseciaka odtwarzacz MP3